My front vise has had a common problem for some time - when fully closed it has a maybe 1/8 inch gap at the top of the jaws. This makes it hard to clamp smaller parts, and the overall clamping pressure has never been that good on it. The manufactured parts of the vise have never given me any problem; they're heavy and more than adequate. But the wooden jaws I made have caused me several problems. Firstly they're really too large. I made them this large because of the way I had to mount the vise to the bench.

This bench is not a traditional workbench in any shape or form, and it was built before I really got into fine woodworking and later the vise was retrofitted. The top is made of two 3/4 inch sheets of mdf, so that makes the overall top only 1.5 inches thick. The frame is built of construction lumber and screwed together with deck screws. This frame includes a sort of 2x4 apron rail that runs along the front about 3.5 inches in from the front of the top. The cast part of the vise is too big to mount in front of the apron rail, but I didn't want to put it all the way behind it either because that would limit how far the vise could open. What I ended up doing was installing some additional blocking and mounting the vise at the bottom of the apron rail. This resulted in jaws that are really too deep. I also cheaped out on the materials and only used one layer of hardwood on the vise jaws. This layer is just on the insides of the jaws where workpieces will go. The rest of the thickness is made up of softwood. To top it off, the bottom jaw cracked during use and now that needs to be repaired.

So, the general idea here is that this vise is not optimal, and it's not going to get optimal without serious intervention. This article is not about that serious intervention, though. It's about band-aiding this thing to just make it work better. I still want to do something better, but I'm not willing to be without a front vise for that long right now.
I started off by taking the vise off and checking for flatness. I built these jaws before I had a thickness planer, so it's no surprise that they weren't flat. In fact they were both "humped" across their width. This is basically a worst case scenario for clamping pressure - all the pressure gets concentrated in a small area. I drew in red lines in the picture below to illustrate this.
I ran them through my thickness planer to flatten them. While doing this, I also attach a 1/8 inch strip to the top part of my outside jaw. This results in one jaw being tapered (thicker at the top than the bottom), which will ensure that the vise closes at the top first to make it easier to clamp small parts. This is a common procedure I've seen on the web for woodworking vises.
With both jaws flat, I planned my repair for the bottom jaw. Since it was split along the width, I decided any repair would need to put some grain running against that splitting tendency. I cut slots in the jaw on the router table. I thought I'd get the cleanest slots this way, but in reality it just took forever and got me results that weren't really better than I could have done with my drill press and a chisel. Plus it made a huge mess!
I filled these slots with some scrap red oak I had on hand. The glue up was a big pain since the vise jaw came fully apart along the split while routing the slots. There were lots of pieces to glue and clamp before it all dried.
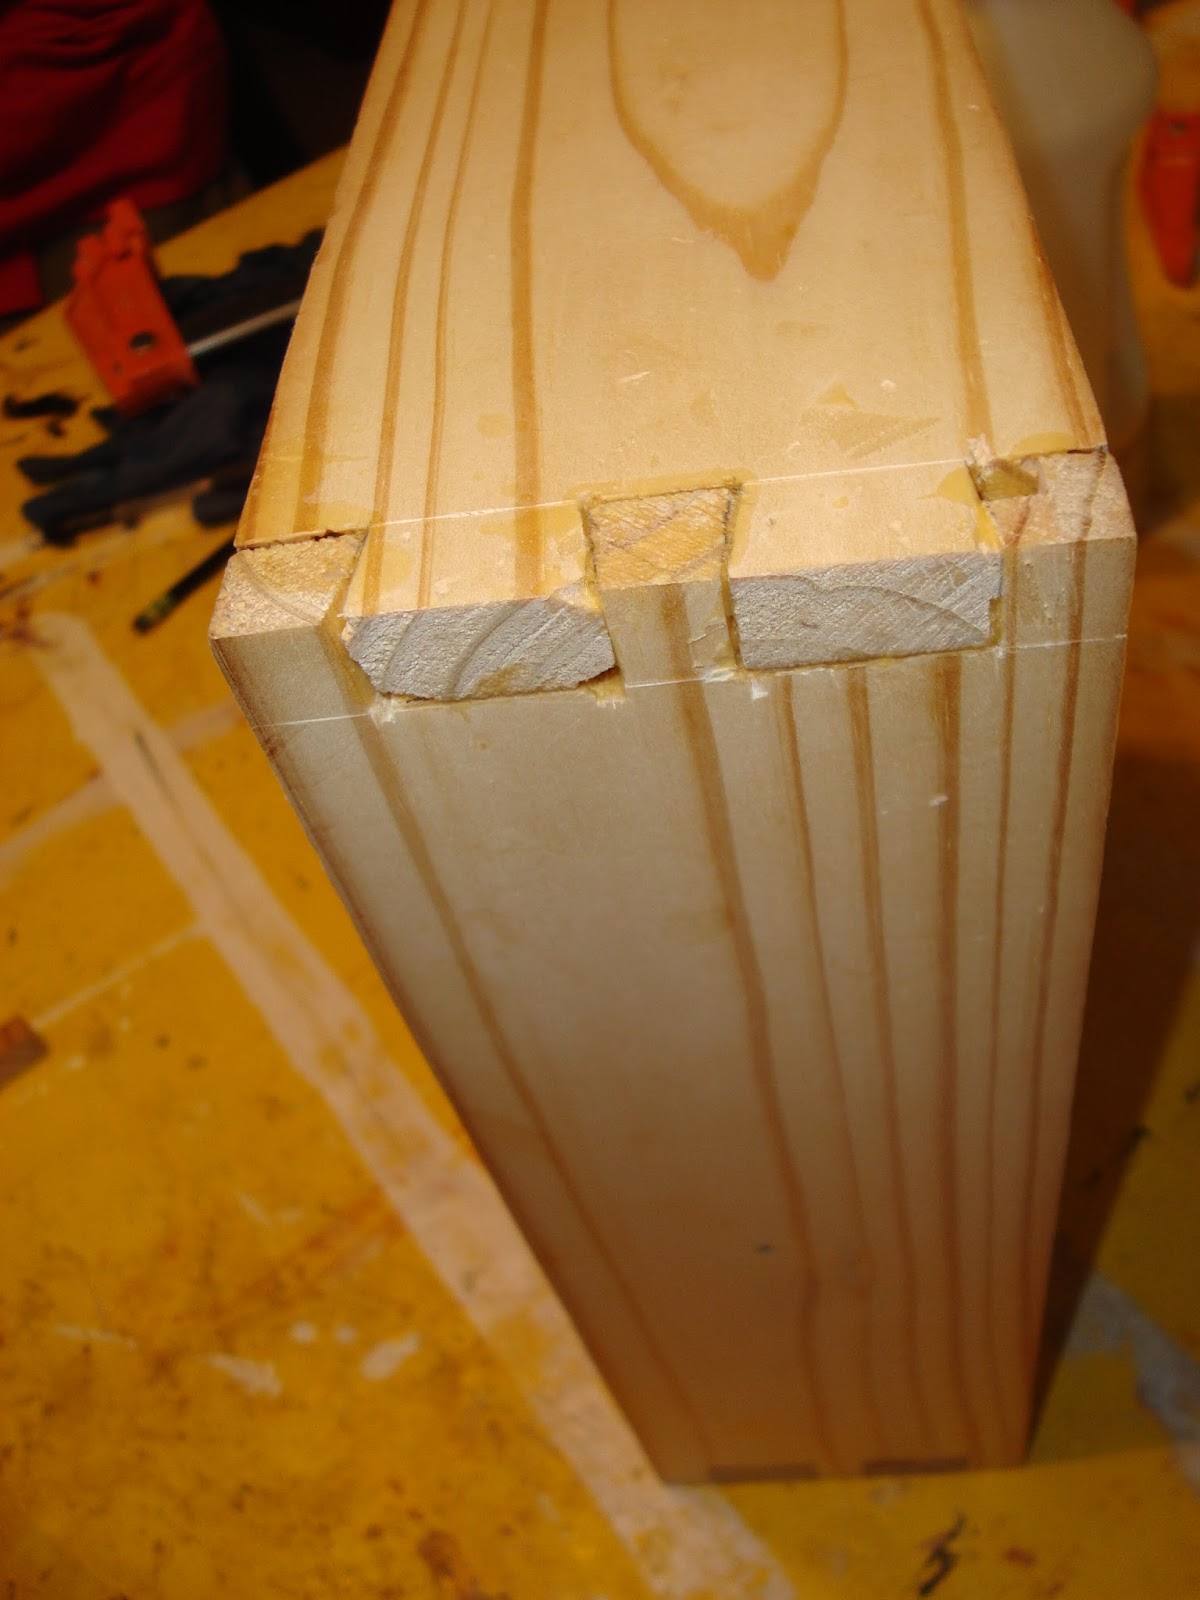
I cut off the excess ends of the spliced in pieces at the table saw and beveled them to match the rest of the vise jaw with a chisel.
Then I reapplied the finish to both jaws. It's just boiled linseed oil topcoated with wax. I'm using just regular paste finishing wax, and I find it hard to get much build with it. If anyone has a suggestion of a heavier building wax, I'd love to hear about it.
I also redrilled the hole in the back jaw that allows the vise screw to pass through it because I could see that the screw had been rubbing there a bit. Boy, was it easier to turn the vise handle after this!
The front jaw has bench dog holes in the top. I use wooden dogs that I make out of 3/4 inch hardwood dowel, and I like the dogs that I use in the vise jaw to be able to sit down below the top of the jaw for storage. However, they're always slipping back down when I'm trying to use them. So I made some set screws to hold them up during use.
I made these from drywall screws. I figured the larger threads might hold up better in softwood.
To make them I heated up the heads of the screws to orange hot using a propane torch and pounded them flat. If any blacksmiths or metalworkers are reading this article, I'm sure they'll get a laugh out of the crudeness of my work here. But they work so far.
With the vise all reassembled, there is no doubt it works much better than it did before. One might ask if this vise was worth saving - especially the back jaw. It's a fair question, and I think you could make the case that I should have just started over. But if this holds up for a few years, it'll be effort well spent in my opinion.
If you like what you see, consider subscribing to our blog! We have email subscription as well as rss/atom at the top right of our page.