Thursday, December 19, 2013

Make A Chisel Handle from Firewood


Posted by
Labels: , ,

I bought an old socket chisel off ebay.  This is a 2 inch wide chisel with no bevels on the edges, sometimes called a slick, historically used for timber framing or other large workpieces.  The chisel had the usual rust and pitting, and lacked a handle.  You can see it below on the bottom left.


I cleaned the rust off with a brass wire wheel in a bench grinder.


Here you can see the left edge of the chisel has some pitting, so I have to grind away some metal to reach a non pitted area there.


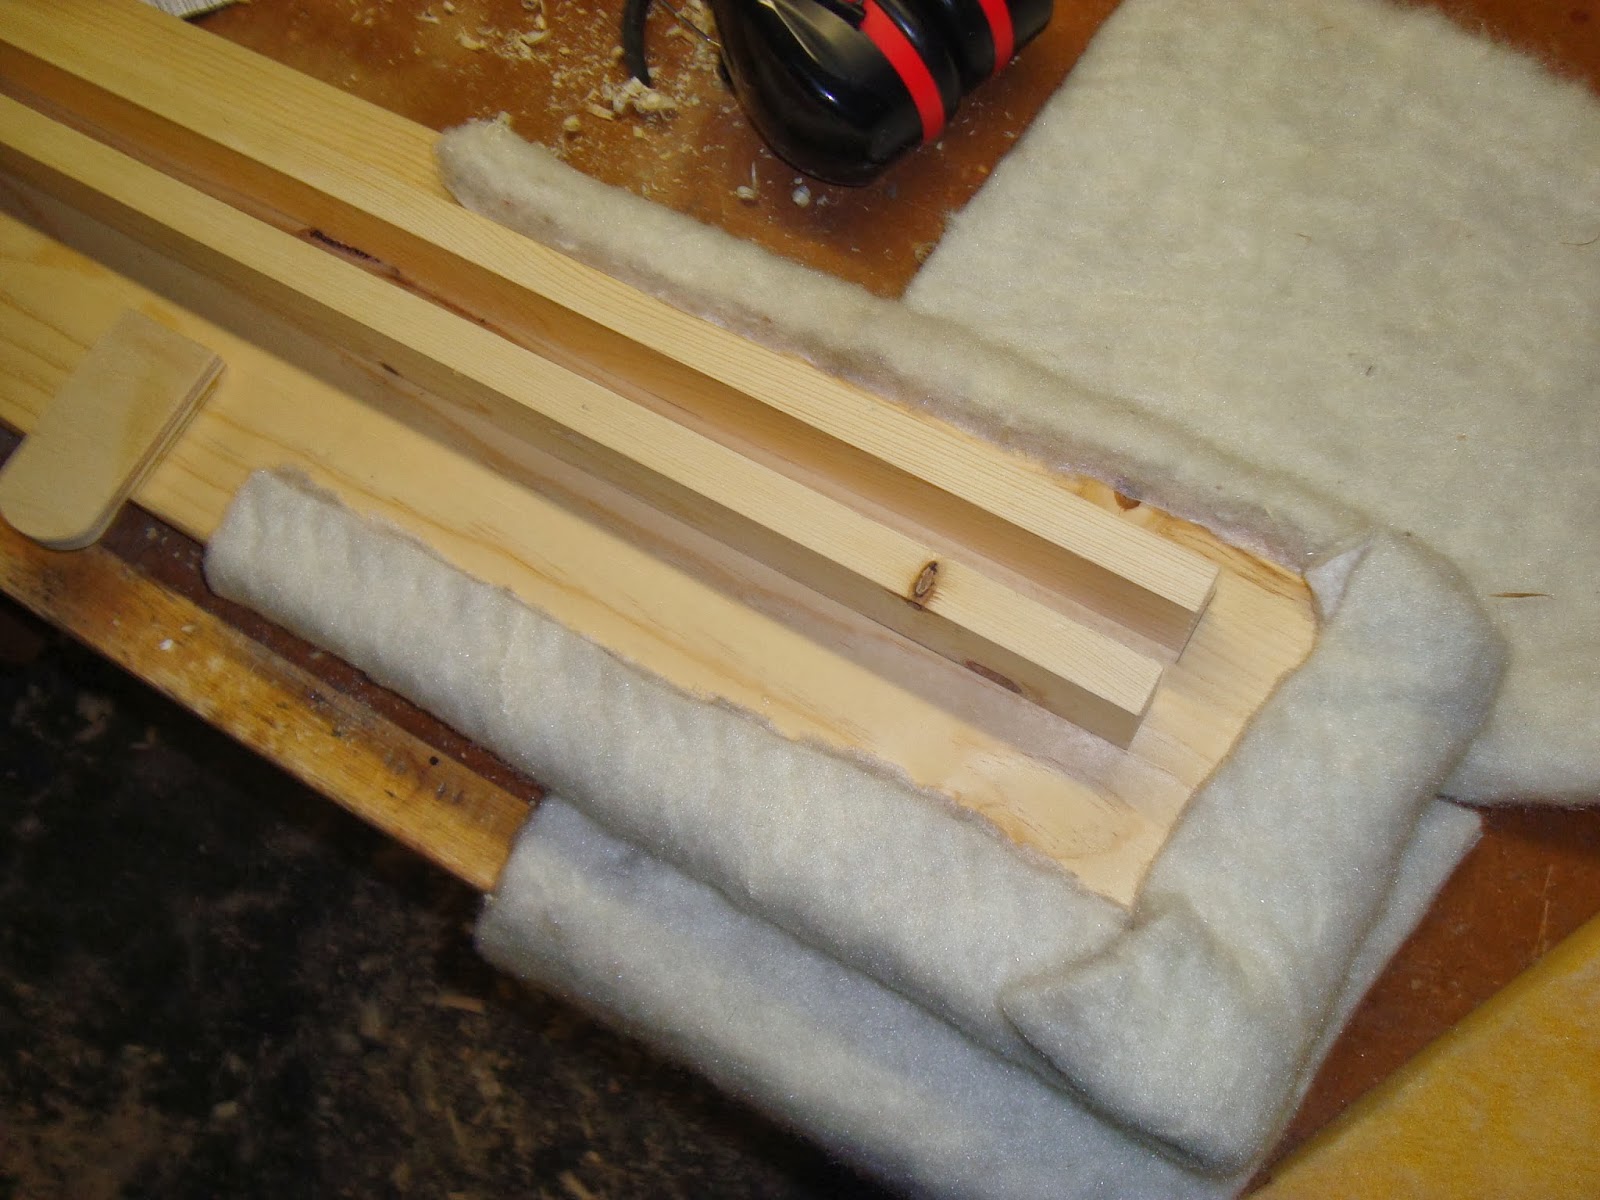
I do this rough grinding on my belt sander.


Then I sharpened the chisel with my usual bench stones

 
 Then I turned my attention to the handle.  I'm making this out of a piece of red oak firewood out of my parents' firewood pile.  This piece is well dried, and this is a great way to get some good usable wood for free or very low cost.


I start by splitting a piece off with wedges.


Then I hew it round-ish with a hatchet.

 I whittle the end to rough size with a knife.


Then continue to shape it to fit the socket with a knife and rasp.


It fits!


A shot of the carnage left over from all this shaping.


The handle is still just round and I want to profile it a bit to fit better in the hand.


I shape it down with spokeshaves and rasps and smooth it with a card scraper.


Here's the finished profile.


To finish it, I drive in finish nails into both ends of the handle just a little ways so I can balance it on 2 blocks with v shaped notches in them and turn it to finish all sides at once.  I apply 3 coats of walnut colored danish oil.


Here's the finished product.  The handle is left long so that the chisel can be used 2 handed on large pieces for extra leverage for carving and shaping.


If I had this to do over again, I would have left the handle the same diameter as the outside of the chisel socket so that it formed a shoulder.  This would have looked nicer instead of having the top of the socket exposed.  But I expect this one will work fine for a long time.

Wednesday, December 18, 2013

Make a Curved Scraper


Posted by
Labels: , ,
I have been carving a few wooden spoons for Christmas presents this year, and I needed a curved scraper to smooth out the bowls on the spoons. I had read somewhere online about making them from handsaw plates.  I would never advise anyone to make a card scraper out of a saw plate with any value.  Handsaws that were made before the days of induction hardened teeth are almost infinitely sharpenable and restoreable, and any quality specimens of that vintage should be kept and used as handsaws.  However, inexpensive handsaws these days virtually all have induction hardened teeth.  This process does exactly what it's supposed to do: it makes the teeth harder so they stay sharper longer.  Handsaws are traditionally sharpened with files, though, and induction hardened teeth are typically at least as hard as a file, rendering them unsharpenable at least with traditional files.  It should be pointed out that you could sharpen such a saw with diamond files made by eze-lap as well as other manufacturers.  But with the saws being so cheap, and the likely slowness of sharpening those hardened teeth, I'm just not sure it's worth it.  Besides, the particular junk saw I had in mind was well past its intended life at probably 8 or more years old.  So, on to making a scraper!


This is the old stanley sharptooth saw:


 I removed the handle.


 Then cut the plate down to a square to start with using a hacksaw


 I ground the teeth off at the bench grinder.

Then marked out the rough shape of the curves I wanted on the steel and cut it out with an angle grinder.


 Then I rounded the corners and finalized the shape back at the bench grinder.


 Next I started removing rust with sandpaper.


Then it was time to sharpen the scraper.  Scraper sharpening is a subject of much mystery and gnashing of teeth amongst many woodworkers, sometimes including myself.  The basic theory is simple, but getting it right in practice can sometimes be frustrating.  I start by squaring the vertical faces on my bench stone.


Then the horizontal faces.  On each face I start out on the coarse side of the stone, then fine, then another finer stone I have until I achieve a decent polish.


And the burnishing is saved for last.  This is where most of the mystery lies, and there are many, many woodworkers out there who have written better tutorials than I ever could on the subject.  The very short version, for those who aren't familiar, is that you first run the burnisher over a vertical edge of the scraper a few times with the burnisher held horizontally applying firm pressure.Then you tilt the burnisher 5 or 10 degrees to one side and make passes focusing on that edge, continuing to apply pressure, and then the other side the same way.  The theory behind all this is that the burnisher is made of exceptionally hard steel, harder than the scraper anyway, and when you push on the edge of the scraper with the burnisher it deforms the metal, raising a hook or burr.  It is this hook or burr that does the cutting when using the scraper.


 Here is the finished scraper, along with some nice shavings cut from the bowl of this spoon.  I have to say this scraper works great - every bit as well as the ones I have purchased.  Go out and make you one!


Friday, December 6, 2013

Computer Gaming Desk


Posted by
Labels: ,


I have my computer on a student desk that was likely designed and built before home computers were so common.  I wrote about extending the desk surface in a previous article.  Since the desk isn't designed for a computer, there is no keyboard tray or shelf to put your keyboard and mouse on.  The only surface on which to put these is the desktop.  This is clearly too high for the keyboard and mouse to sit on from an ergonomics perspective.  I don't want to buy a new desk, so I decided to hack together a freestanding platform for the keyboard and mouse to sit on to transform my crappy desk into a super duper computer gaming desk!

I'm thinking of this as a prototype as much as anything, so I'm going to build the whole thing out of cheap 1x4 spruce.  I start out by setting up my tablesaw crosscut jig with the extended fence and stop block to cut all the legs the same length, then move the stop and cut all the other matching parts the same length.


I put a roundover on all the pieces at the router table.


To make this prototype quick to assemble, I used pocket hole screws for all the joints.


Here are the two side assemblies completed.


The front assembly is two pieces of the 1x4 for the top and bottom, and the vertical pieces are a 1x4 ripped in half.  They are joined to the top and bottom with pocket hole screws.  I have already installed the hinges that will connect the front to the sides.  This will allow the whole thing to fold up for easier storage as well.


The basic skeleton is completed very quickly.  I didn't do any sanding or any finishing since this is just a prototype.


I rounded over the edges of the arm trays at the router table, and crudely upholstered them.


I started by sticking some upholstery batting onto the top of the arm with spray adhesive, wrapping the pieces over the edges.


Next I covered the batting with some fabric I salvaged from an old couch.  I started by attaching it wrong side up at the front of the armrest.  I then fold that over towards the rear of the armrest so that the front attachment point will be hidden.


I wrap the fabric around the sides, smooth it out and staple it on the bottom side of the armrest.


After I fold the corners in and staple the rear seam of the armrests, I trim the excess fabric so it looks neater.


Here are a few pictures showing how the arm rests and keyboard rest fit over the top of the sides.  You can see that there are just two pieces of wood attached to the bottom of the arm rests and keyboard rest that form a gap the width of the top rails of the side frames.


Here you can see a tab in the center of the picture that holds up the front of the keyboard shelf.


 And the slip on mechanism for the front of the keyboard shelf.


Here is the finished product, assembled and set up for use.


Here are the pieces disassembled for storage.