Justin from
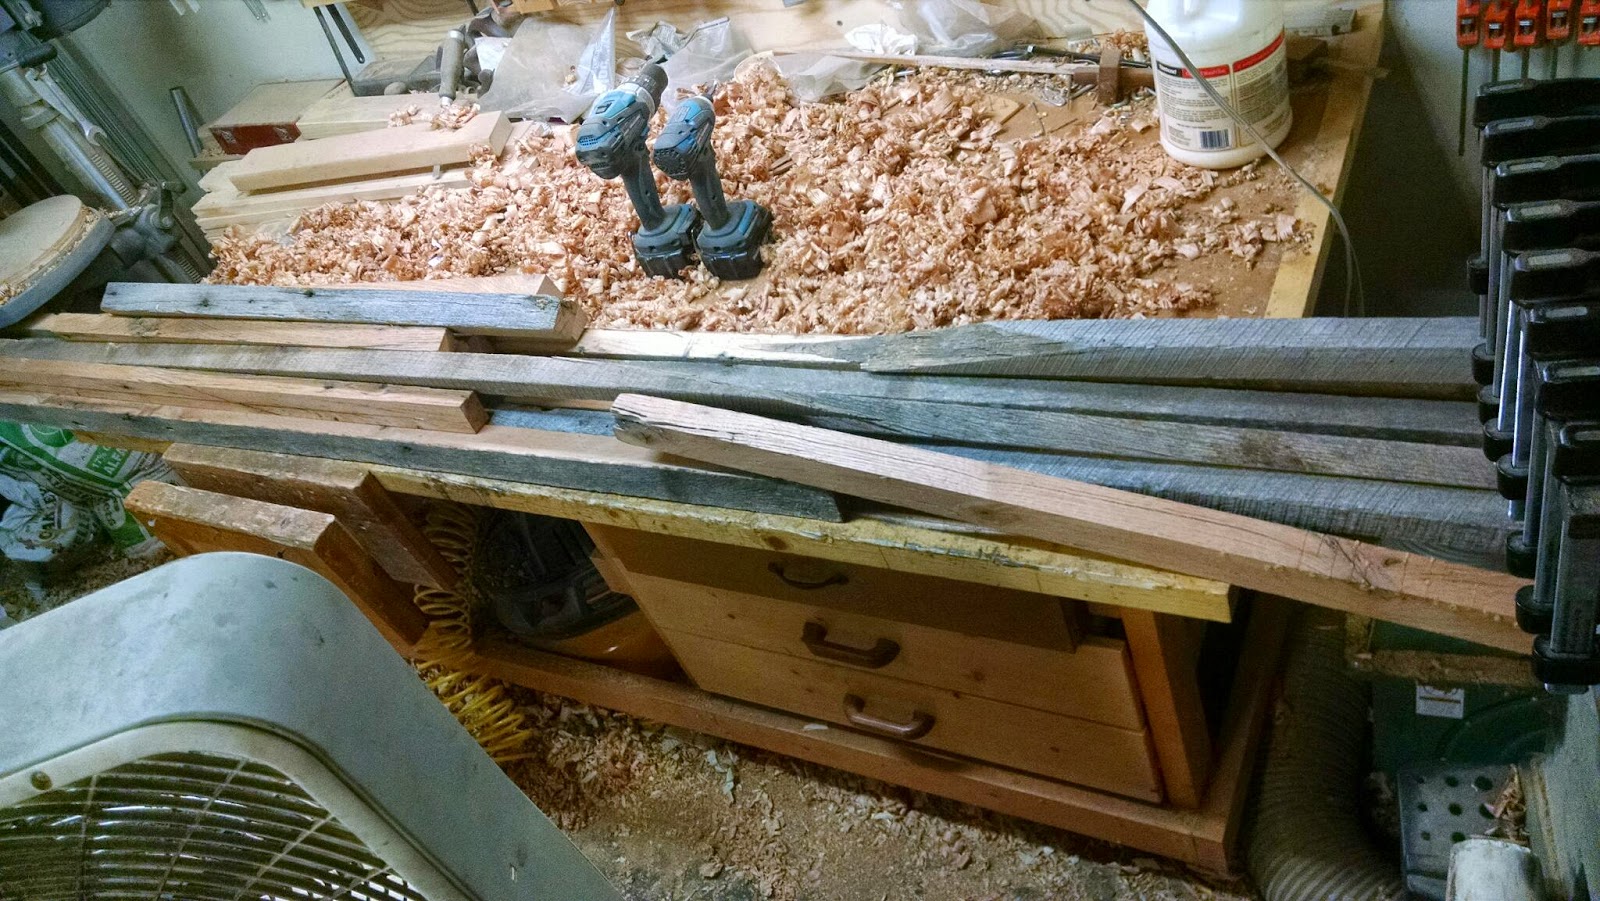
JB's Forge approached me last year about a pile of salvaged red oak he had from demolishing an old barn. He wanted to see if we could build a workbench for him out of this lumber. We worked out a labour trade - woodworking for blacksmithing and I went to pick up the wood. It was a solid truckload in my 8 foot bed pickup truck. I wish I had taken a picture of the truck loaded, but unfortunately I didn't. The first picture I could find when I set out to write this article was after I had started cleaning up the lumber. You can see the lumber I have already worked out in front, and the raw stuff in back.

This wood had basically every kind of defect you'd expect in wood from such a situation - termite damage, dry rot, nails, knots, warping, bowing, cupping, and some pretty serious saw marks from whatever mill it was rough sawn on. I removed nails and cut and planed lumber straight as I went along rather than doing it all in one giant operation to sort of spread the pain. Once I had enough lumber milled up to make the leg assemblies, I started work on them. We chose the
Paul Sellers workbench design, and the leg assemblies on this are mortise and tenoned H-frames. The first step was to glue up some stock for the legs.
My little glue roller from Rockler got a lot of use on this project!
Here are all four legs glued up.
Here I am planing the end of one of the legs flush and square. Lots of people out there will tell you you need a specialized plane for this. Paul Sellers says otherwise, and he's right. A sharp, properly set up #4 smoother works great on end grain.
I cut some of the through mortises in the legs old-school style - with a mortise chisel.
Test assembling a joint.
On one of the leg assemblies, the top mortises receive a shouldered tenon. Here is one in progress. You can see the gradual deepening from where I started the first pass with the chisel to where I ended the pass at the end of the piece.
Here I am cutting off the waste to form the shouldered tenon.
Some of the mortises I cut by drilling out most of the waste at the drill press and then pairing the sides with a chisel. Here is one after the drilling.
Here is a tenon all marked up for cutting by hand.
I sawed the cheeks to rough size...
The leg frames dry assembled.
With those complete, it was back to milling lumber for the top. I included this picture just to illustrate some of the challenges I encountered with this reclaimed lumber. You can see I've popped a red chalk line down this piece to show just how far away from straight the edge is. This is way beyond jointer territory. I cut this chalk line with a skill saw as a start - you can see the line is nearly an inch from the side at the ends but almost touching the side in the middle. All this lumber was just too big to safely put on my jointer. This was more a limitation imposed by the size of my shop than by my jointer, although a fair amount of it would have exceeded the 6 inch capacity of my jointer for face jointing anyway. So all the lumber is edge jointed with hand planes.
All the boards went through the thickness planer to clean up the faces, but I had to face joint many of them by hand in order to have a flat face to reference.

And I pulled SO many nails. Incidentally some of them were quite large by modern standards - 7/32 in diameter (nearly 1/4") and just under 4 inches long. For comparison, a modern framing 16p nail is about 3 1/2 inches long and between 5 and 6 32nds in diameter.
Here is the first of the two top panels getting glued up.
You can see in the picture above that the top surface of the panel is relatively smooth and flat, but due to various issues with my milling of the lumber, the bottom of this panel needed some serious flattening. Luckily it's well above the target thickness!
With so much material to remove, I started this in an unconventional manner - I hewed it with hatchets!
Here are the two I used - a Kent pattern on the right and my Bahco carving hatchet on the left.
After both tops were glued up and planed straight and flat, it was time to make the apron boards. These are made by edge glueing boards rather than face glueing, mainly because the target thickness is much less than the tops. Here is one being glued up. I am using 2x4s as cauls here to help keep everything flat.
Here are the aprons waiting to be trimmed to final length.
With the tops and aprons made, the last big glue up was the well board. By this point I was scraping the bottom of the barrel lumber wise, so I used lots of pieces I trimmed off during earlier milling.
Fast forward a bit, and here is everything but the well board just clamped together for a test assembly.
Once the test showed everything was going to go together, I finally glued up the leg assemblies.
And installed the bearer board on top of both assemblies.
I really wanted the tops to have a smooth surface despite all the insect and knot holes in the lumber, so I filled all the holes with epoxy.
Once the epoxy cured I removed the excess with my trusty #4 as well as scrapers. This worked ok, although not always perfectly, but it sure beat sanding it all!
Here I am finally glueing the tops to the aprons. It is too cold to do this in the unheated shop this time of year so I had to do it in the living room.
The last step in the construction was to fit the well board. This is a plane-to-fit, trial-and-error kind of operation.
Two coats of water bourne polyurethane - a mammoth undertaking in itself just due to sheer square footage - and this thing was done!
This is obviously not a how-to article. It would be way too long for this format, not to mention I couldn't hope to do better than the original
Paul Seller's video tutorials. I estimate I probably spent somewhere in the neighbourhood of 100 hours total on this project, but I think the results are just beautiful. Plus if taken reasonable care of, there is no reason this bench shouldn't outlive me.


