We have a tiny cabin (165 sq ft) on a piece of rural property that my family owns. We like to visit there on the weekends, and we hope to eventually build a house and move to the property. We visited the cabin for some time without any beds in the cabin. We slept on air mattresses, which is fine for a short while but becomes inconvenient and uncomfortable after a while. So I decided to build us some bunk beds which could stay at the cabin permanently. I wanted these to be as inexpensive as possible, but nice enough quality to last a lifetime. I spent some time designing these in sketchup to conform to the space we had available.

I had seen on an unrelated trip to Lowes that they were selling untreated douglas fir 4x4s. I snagged 4 of these for the posts. These were not cheap, at about $10 each. The rest of the beds is built entirely out of construction grade spruce 2x6s and 2x4s. The 4x4s were fairly rough when I got them home, with lots of planer marks and some tear out from the planer at the mill where they were originally cut. So I started out by planing them nice and smooth with my Stanley #4 plane.

Next I turned my attention to making mortises - MANY mortises (32 total). I made these in the same fashion as I usually do, first making all the layout marks, then drilling out the waste with a forstner bit at the drill press, and finally squaring up the mortises with chisels.


I worked through these steps a post at a time, first planing it smooth with the handplane, then making the mortises just to break up the repetitive work.
With all the mortises made, I then turned my attention to making the numerous rails that made up the rest of the frame. These were a little rough to begin with as well, so I started by running all the 2x6 and 2x4 stock through my thickness planer. I only took off maybe 1/16 of an inch total, just enough to smooth them out a bit on the faces and make them all the same thickness so that the tenons come out more consistent.


Then I set up the table saw to begin working on the tenons. All the tenons are the same 1 inch thickness and 1 inch length, and all the shoulder cuts are the same depth, so I only need to get the saw set up correctly and then run them all through. For smaller tenons, sometimes I either nibble all the waste away at the tablesaw, or cut the tenons in two passes, one horizontal and one vertical. Since these pieces were so long and hard to control, I opted to only make the shoulder cuts and one additional set of cuts halfway out the length of the tenon just as a depth guide.

Then I pare each tenon down with chisels.

As I work on each tenon, I test fit it in the specific mortise it corresponds to in the posts. After paring with the chisels, I do any fine thickness adjustments with an old wooden bodied rabbet plane I bought on ebay a while back. It turns out to be perfect for this task.


Here I have one of the end ladder assemblies test assembled to check for any problems. You can see that I have not yet cut the posts to length, so they are extending way beyond the top rail.

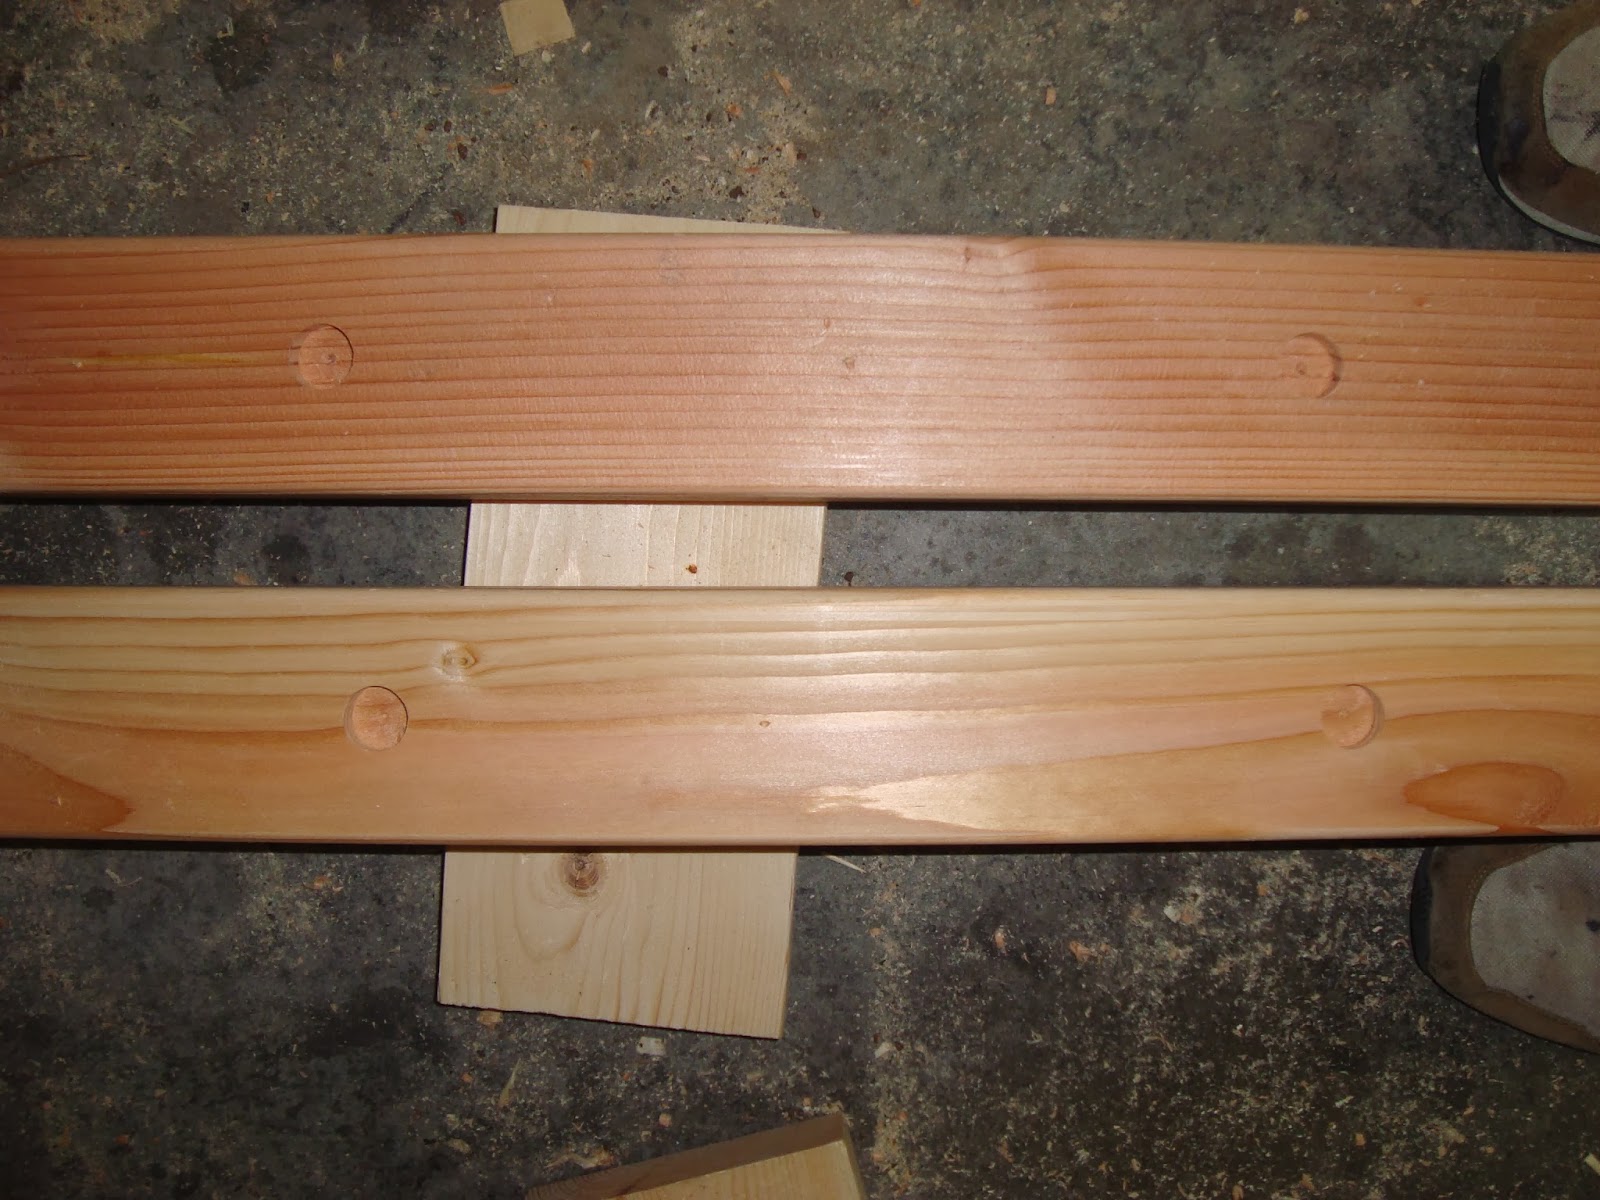
Most of the rails need some planing on the edges as well to match the smooth faces I made using the thickness planer.

There was a LOT of hand planing on this project, and after a while I started losing tools in the shavings piles.

After much work, all the mortises and tenons made and fitted, it was time to start working on the draw bolt system that would hold the long rails to the end ladder assemblies when it is all put together. I started by laying out positions for the holes to be drilled through the posts and into the mortises. Then I first drilled the counterbores for the heads of the bolts to sit in with a forstner bit.

Then I drill the smaller hole for the shank of the bolt.

Here it is coming through to the bottom of the mortise.

Then I decided I should assemble each joint in order to use the hole in the post to guide the drilling into the tenon and rail.


This sounded better in theory than it turned out to be in practice. Probably a better strategy would have been to assemble the joint and use the post hole as a guide to just drill in 1/8 of an inch or so to mark the hole placement, then disassemble and drill the tenon hole to depth so you could ensure the hole was more square to the workpiece. The tenon holes on some of my joints ended up not straight and square to the rails, but they were definitely close enough to work.
Then a hole is drilled from the inside face of the rail to connect to the hole running through the tenon. This is how you will get the nut onto the bolt when assembling the beds. This is drilled with a forstner bit and then the end closest to the tenon is chiseled square, making a D shape. The flat back edge of the hole is to give the nut and washer a flat surface to bear against. You can see the finished D shape in a later picture, this is just the initial hole.

The long rails now need cleats installed on them which will hold the plywood that supports the mattresses. These are ripped from spruce 2x4s.

And installed with glue and screws.


You can see that D shaped hole a bit better in the above pic.
Once all these were done, hours upon hours of sanding followed. I also routed roundovers on all the pieces. Then with all the pieces sanded and cleaned, it was time to clean up my disaster of a shop so I could start finishing.
Remember all that hand planing?

Because of the sheer scale of surface area to be finished, I elected to spray finish this project. I started by taping off all the tenons to protect them from overspray.


I also taped over the mortise holes, and trimmed the tape to just the area that would be covered by the shoulders of the tenons.

With everything taped, I had to clear off every surface in the shop to hold all the pieces while they were drying.


Table saw included...

And finally, I ran out of space and had to cobble together some extra...

Then the finishing began. I chose Deft waterbased acrylic for this project. It's always a little risky to use a finish you're not familiar with for such a big project, but it's not that different from what I usually use.
Here is my really awesome high tech spray booth.


I go through the full spray schedule over several days. I spray one coat, then sand out the raised grain, then spray two more coats. I find I can only spray the faces when they are laying horizontal to avoid runs, so a full coat on a piece requires two separate rounds of finishing. So the finishing, as usual, turns out to be a huge undertaking.
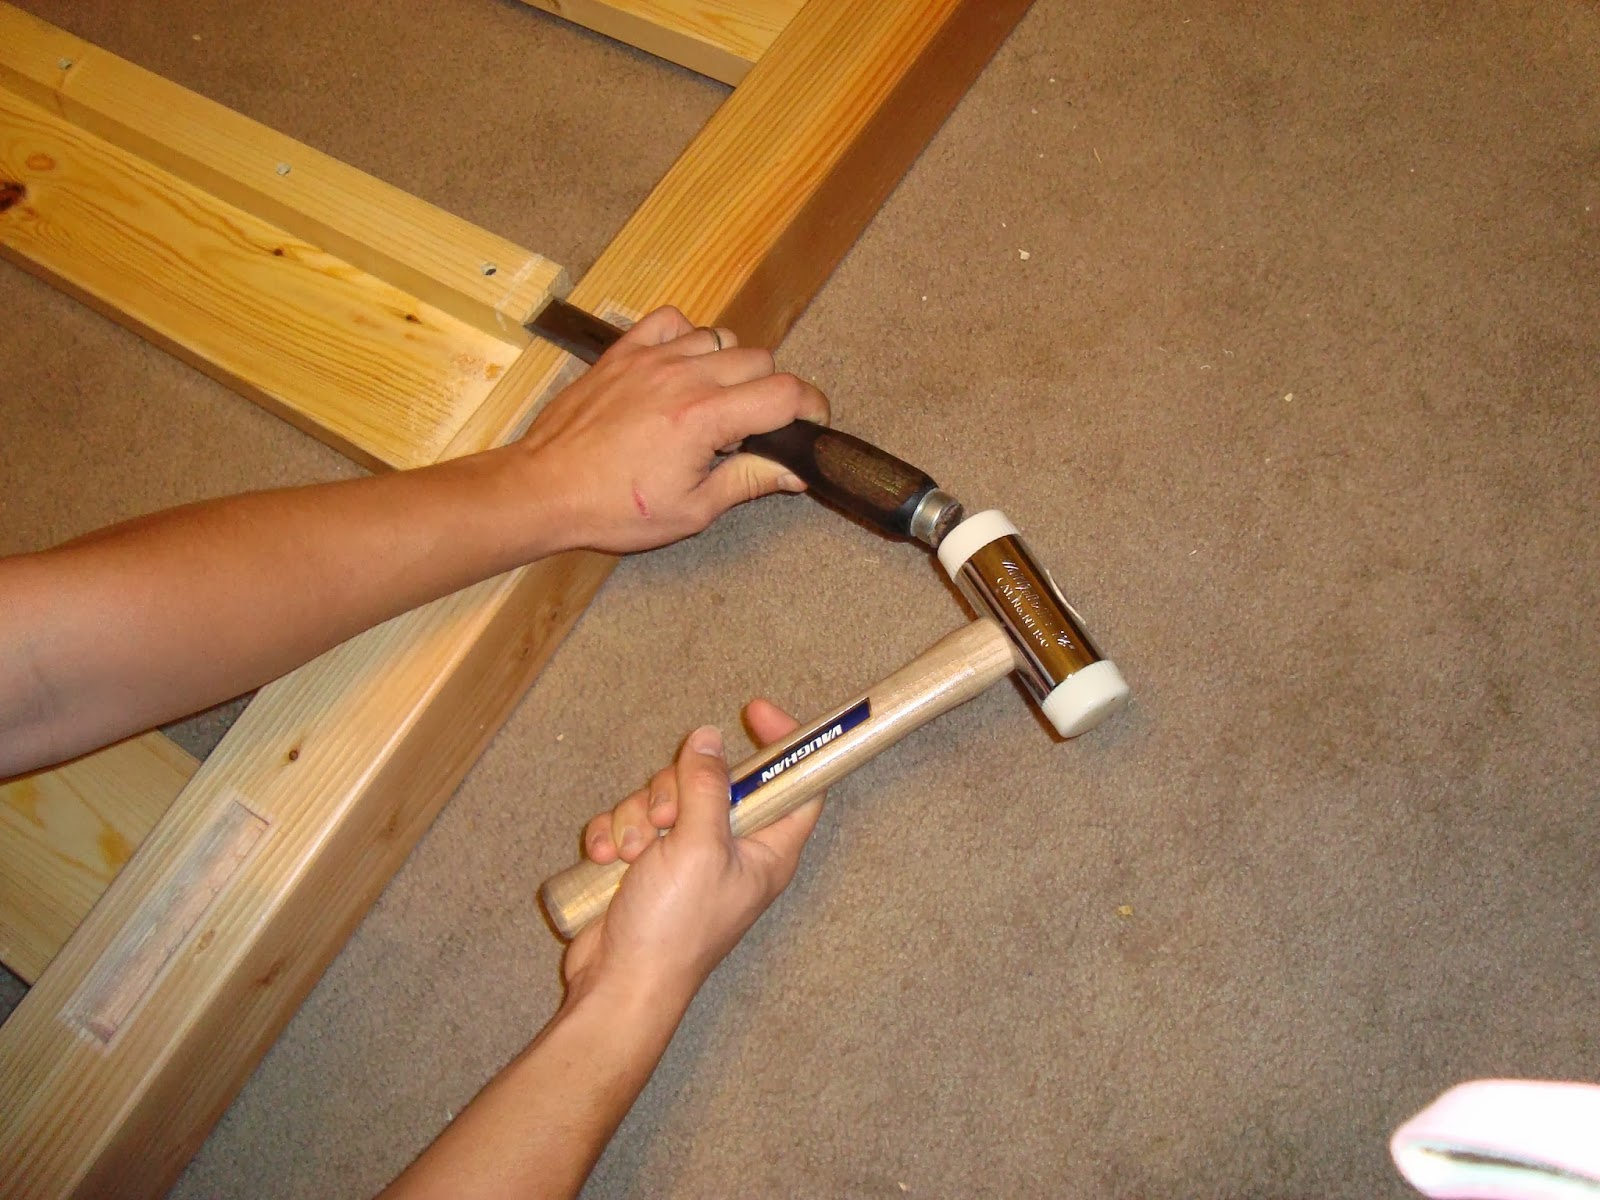
Once that is complete, it's time to remove the tape on the tenons, and glue up the end ladder assemblies for good. I ran into a near disaster when it turned out my 4 foot pipe clamps wouldn't actually open to 4 feet. How many times have we all read and heard to do a dry run on these big assemblies to avoid this kind of problem? Yet I did not, so the first ladder assembly was pretty risky. For the second one, I got longer pieces of pipe to allow the clamps to open wide enough. I took a picture of the more successful second round, of course.

Another last-minute surprise was that the cleats on the ladder side rails interfered with the cleats on the long rails, preventing full assembly. Luckily this was easily remedied by cutting a notch with a hand saw and chisel.


After some considerable fiddling with installing the bolts for the draw bolt system, I completed the finished test assembly and cut the plywood mattress supports to fit the finished dimensions. Then I threw on the mattresses, still in their packaging, to get a view of the finished product in my living room.

And here is the finished product in the cabin.


