Sunday, September 22, 2013

Odds and Ends: New Tool Hangers


Posted by
Labels: , , , ,
This edition of Odds and Ends is workshop organization themed.  My big top drawer in my workbench has been a place to just throw anything without a home for months.  I finally decided to make a little drawer divider organizer for it.  It's made out of 1/4 inch with but joints glued and pin nailed together.


I made this neat little hanger for my coping saw.  It's a scrap piece of pine with a slot cut into it for the bar to rest in.  Then I glued on another little piece of pine on the front with a rabbet in it to hold spare blades.


Here's a hanger like this one for the broad hatchet that I used in this post.


 A hanger for marking gauges.


And last, a hanger for a little egg beater style hand drill.  The little arms that hold the drill are attached with some crude through mortise and tenons.


Upgraded Shop Lighting


Posted by
Labels: ,
Since my shop is a standard 2 car garage and was never intended for anything other than storage by its original builders, it only had one built in light fixture.  The single 2 bulb 48 inch fluorescent fixture that's positioned near the center of the room was not enough light even when I was just getting started in the shop, so I quickly added a hanging shop light style fixture over my main workbench.  This is also a 2 bulb 48 inch fluorescent fixture.

Original light

Hanging light over workbench

 Upgrading my shop lighting has been on my list of projects for a while, but it has fallen back to the bottom of the list time and time again.  But I finally decided to make time to get some better lighting.  I started out by marking out some positions where I wanted the lights to go on the ceiling.  Then I attached a fixture by one screw, marked the center where I needed to make a hole in the ceiling, then slid the light over and traced the size of a ceiling electrical box on the ceiling and cut this out with a drywall saw.


Then I went up into the attic and installed some blocking in between the ceiling joists in order to have something to mount my electrical box to.  I attached this blocking with screws, toenailing them into the joists.


I turned off the breaker, then ran 12-2 wire to the existing light's electrical box to tie in.  There is plenty of current on this circuit since it was only the one light fixture originally.


Yes, if you're wondering, the drops in the above pictures are sweat.  What can I say?  It's summertime in Arkansas so it's HOT in this attic even in the evenings when I'm doing this work.  Hooking up one of these lights is really simple.  I connect it to the new fixture with wire nuts and to the existing fixture and incoming current lines with wire nuts as well.  Here's some pictures of the first new fixture installed.


I repeated the process with another more identical fixture over on the other side of the shop where we normally park the car.


I could not find an angle to take a picture that showed all the fixtures.  And since I didn't take any before and after type shots, it's hard to tell just from the pictures what an amazing improvement in the level of light I gained from doing this project. 

If you think you might not have enough light in your shop, do some sort of upgrade right now!  The cost pales in comparison to just about any new tool or piece of equipment you might be considering.  The increased light has helped the quality of my work, and I feel the brighter surroundings even improve my mood while working in the shop.  I only wish I'd done it sooner!

Friday, September 6, 2013

Quick Project - Laundry Room Basket


Posted by
Labels: , ,
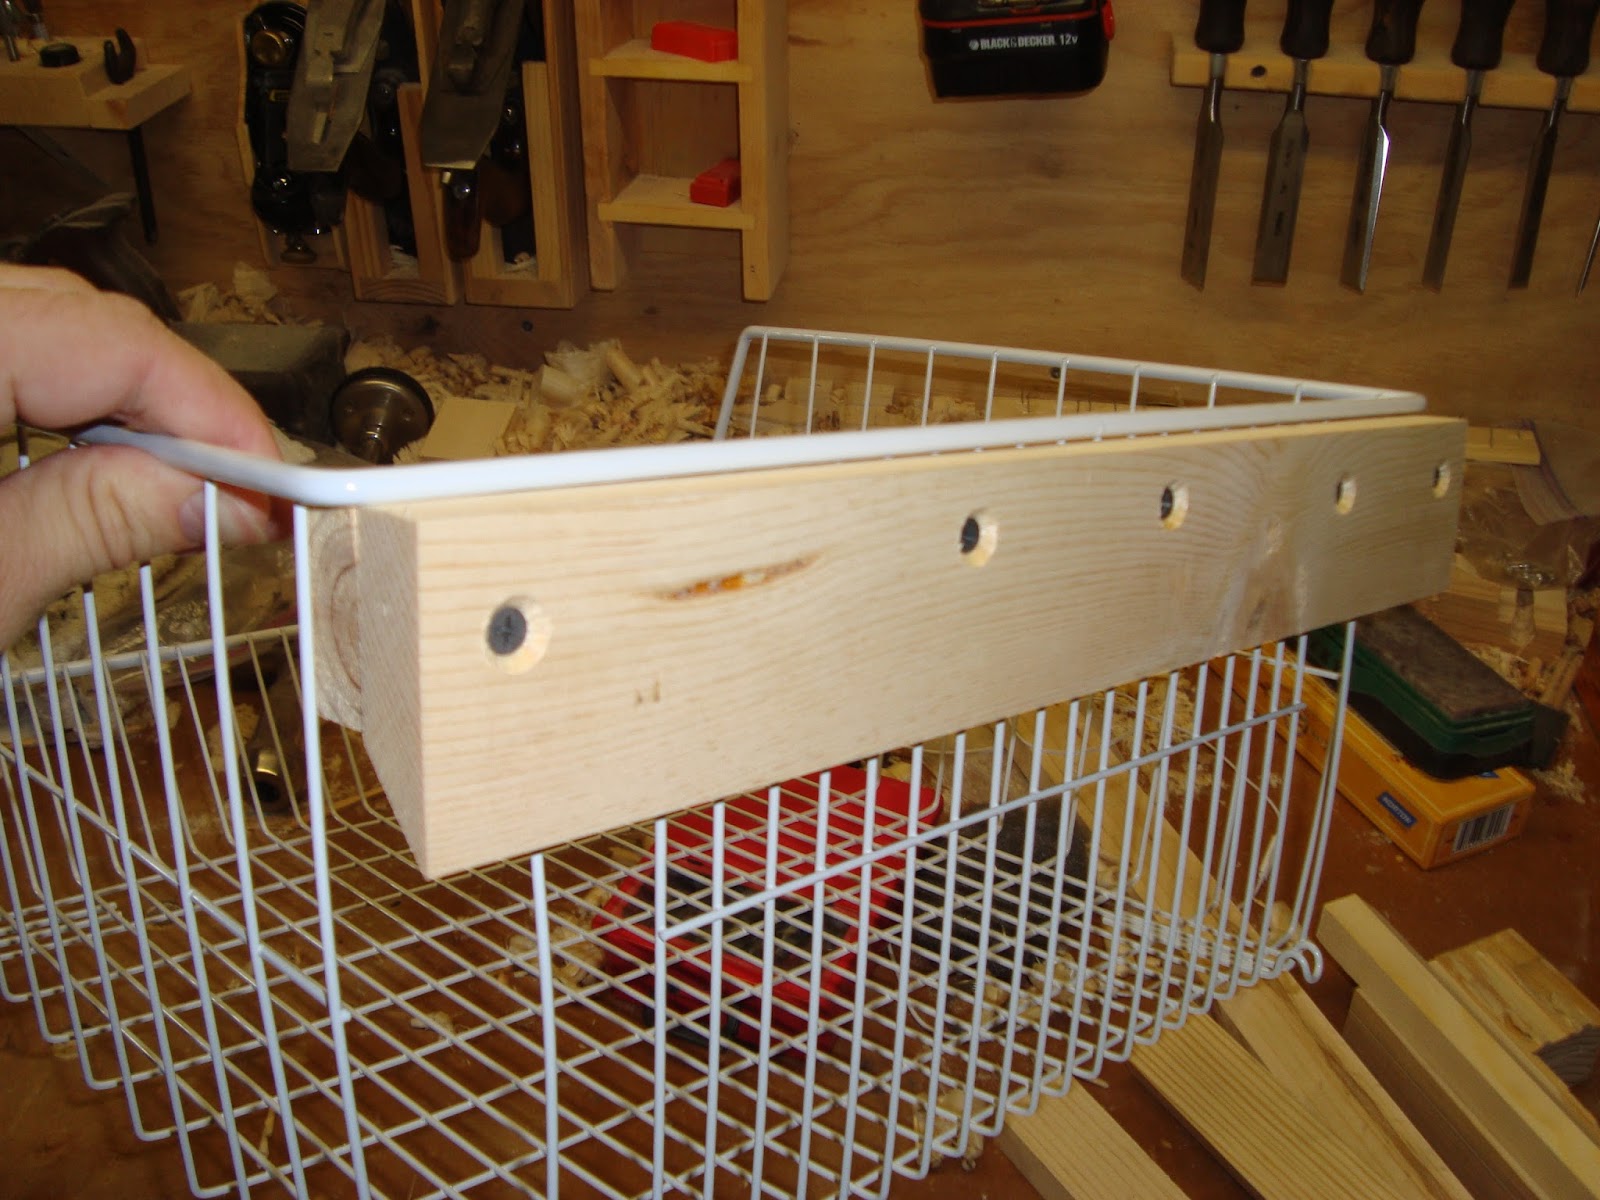
We have been hanging used dishtowels in our laundry room over a clothes bar for some time.  They need some provision for ventilation as they're generally damp from use.  But hanging them on the clothes bar was unsightly, to put it mildly, not to mention it puts them in the way of getting to anything behind the bar.  I had been thinking for some time about switching to a wire basket to store these towels until they are washed.  There are many companies that make entire systems of matching wire basket storage, made for every possible mounting situation.  The only problem is that after investigating these, I found the ones available locally to be quite expensive.  So I decided to take a a cheaper wire basket made to just be set on a surface and convert it to a hanging model.  I took a piece of wood and held it in place against the back edge of the basket and marked the location of all the vertical wires.


Then I cut single-kerf slots for all these wires. This allows this piece to sit flush with the back of the basket, which just makes it look cleaner.


I tilted my tablesaw over to 45 degrees and ripped a piece of spruce to form a french cleat.


The french cleat is screwed to the piece of pine with the slots that fit over the vertical wires.


The other side of the french cleat is mounted to the wall in the laundry room, and spacer piece is mounted below it to allow the basket to hang level.  The spacer is thinner than the cleat, because it hits some tabs that stick out at the bottom of the basket I bought.  You can see one of the tabs in the picture above.
 

I put a couple of coats of my favorite water-bourne polyurethane on all the pieces since they will be near damp towels.  Here is the basket in use.  This was a quick and easy project, but it really has made our laundry area look a lot less junky!


Tuesday, September 3, 2013

Quick Project - Children's Blocks


Posted by
Labels: ,
The pace of publication around this blog has been slow of late.  It's near the end of summer here, and very hot and humid in my shop with no air conditioning.  Vacation season has now pretty well come and gone, and hopefully there is only another month or so of hot weather.  But enough excuses for why I haven't been publishing enough articles.  I have the remedy - an article!

 My wife was hosting a baby shower for a friend, and as a shower activity she wanted the attendees to decorate some children's blocks for the mother-to-be.  These blocks are just meant to be decorative, not played with, so there is no need to make them out of maple or anything.  I made them out of spruce.

We decided on a size of a 2 in cube.  I started with a construction grade spruce 2x4.  I joint one side flat and plane the other parallel in my thickness planer.


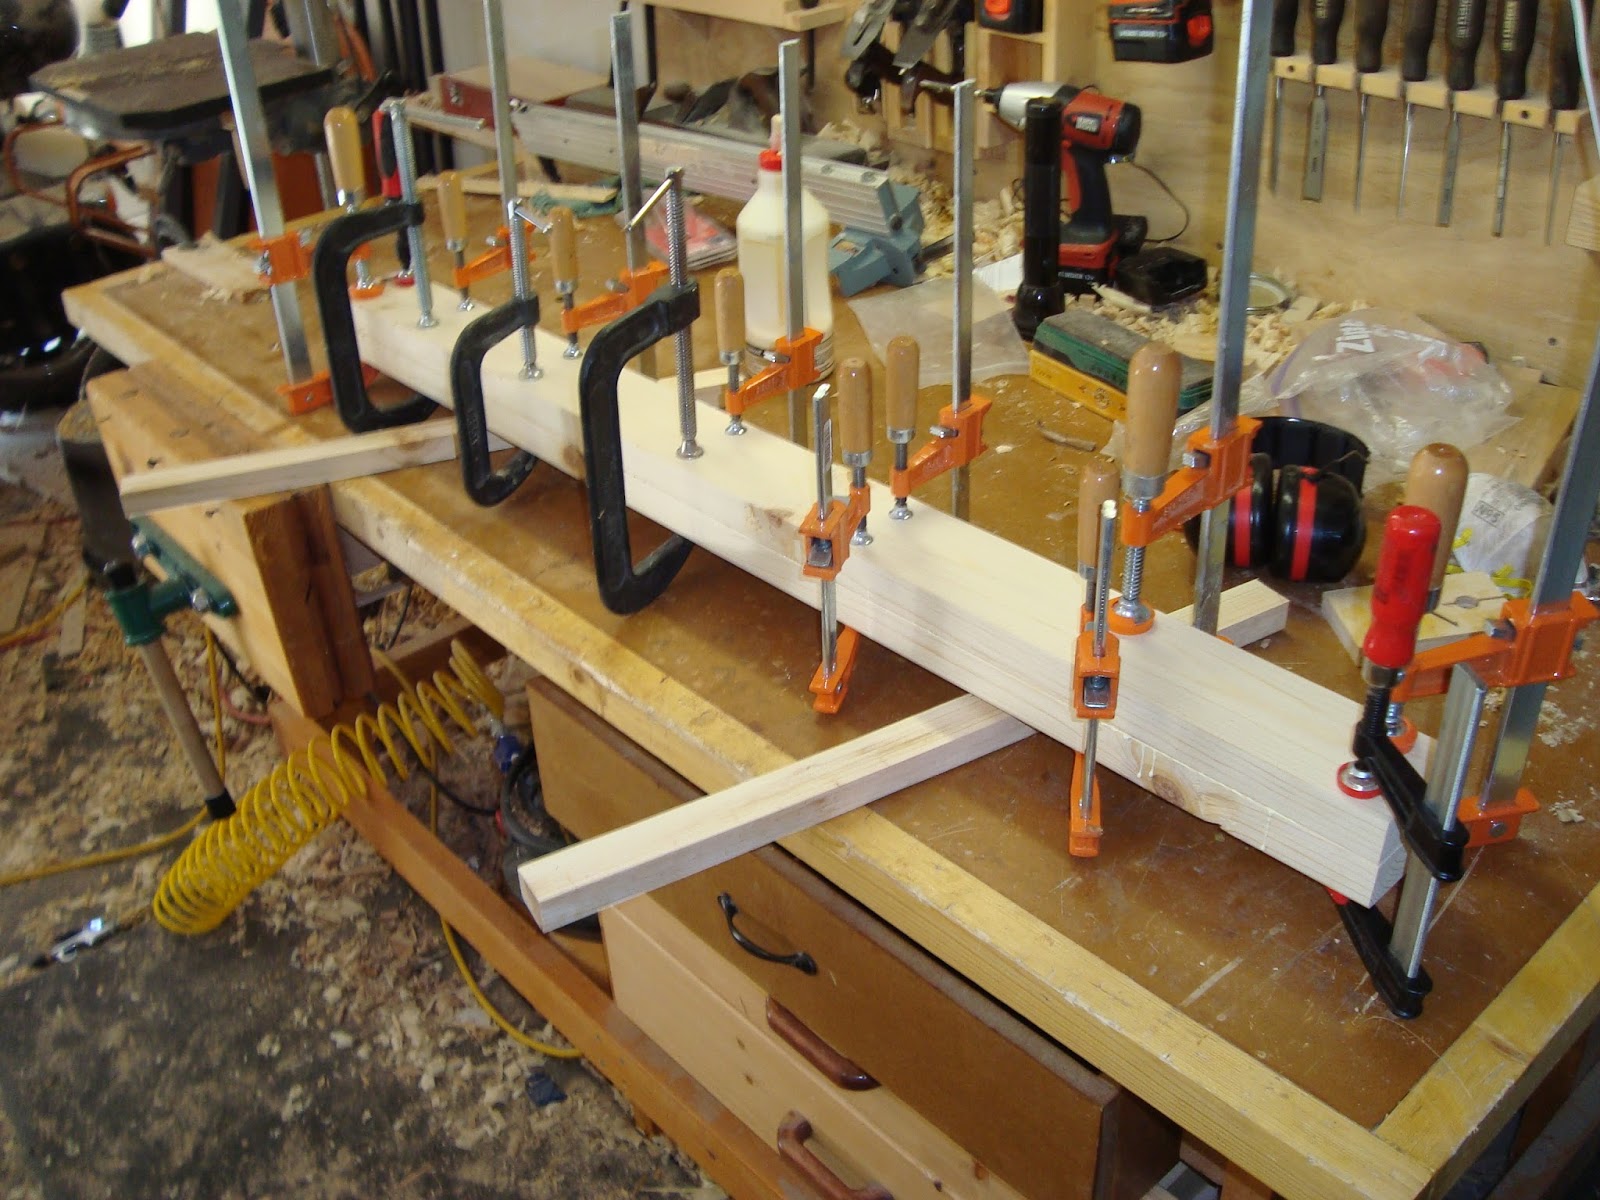
Then I cut the 2x4 in half lengthwise, and glue the two halves together to get the thickness I need.  


I don't have quite enough of that 2x4 on hand to make the number of cubes I need, so I also glued up 3 layers of scrap 3/4 inch spruce I had to make up the difference.


 Once this is done, I rip and plane all the stock down to the final width and thickness of 2 inches.  Then I set up a stop block and use my crosscut sled to make the repeated cuts to final length of 2 inches.  Note that the stop block does not extend between the blade and the fence.  This keeps the cutoff piece from potentially getting jammed between them.


Some final sanding, and these blocks are ready to send to the baby shower!