Saturday, April 27, 2013

Old bandsaw update 2


Posted by
Labels: ,
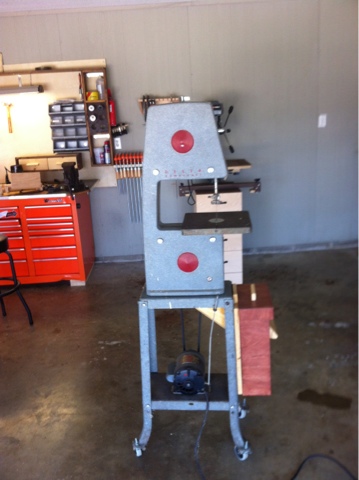
I thought i would do an update on the progress i have made on my bandsaw project.
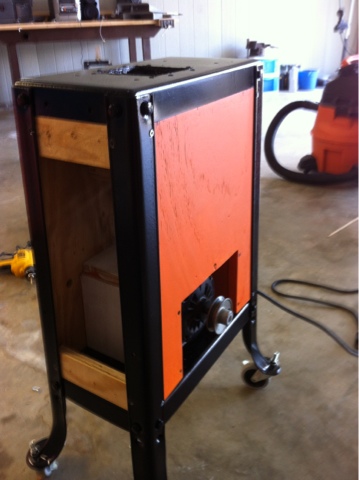
I disassembled the base again to paint everything. I painted the base frame black.


I painted the plywood pieces i made to enclose the base orange, since i had some orange paint left over from when i painted my tablesaw enclosure pieces.


While the paint was drying i turned my attention to the top of the bandsaw. The surface was fairly smooth but had light rust similar to my table saw top. Using the same method i used to restore my table saw top I restored this surface. Starting with a wire wheel in my angle grinder, followed by sandpaper and finishing with a coat of paste wax. 


After all the painted pieces where dry i assembled the base.


I tied all the wires up with some plastic clamps.


Next I installed the side covers to ensure they fit properly, I later removed them to install the bandsaw on the base.


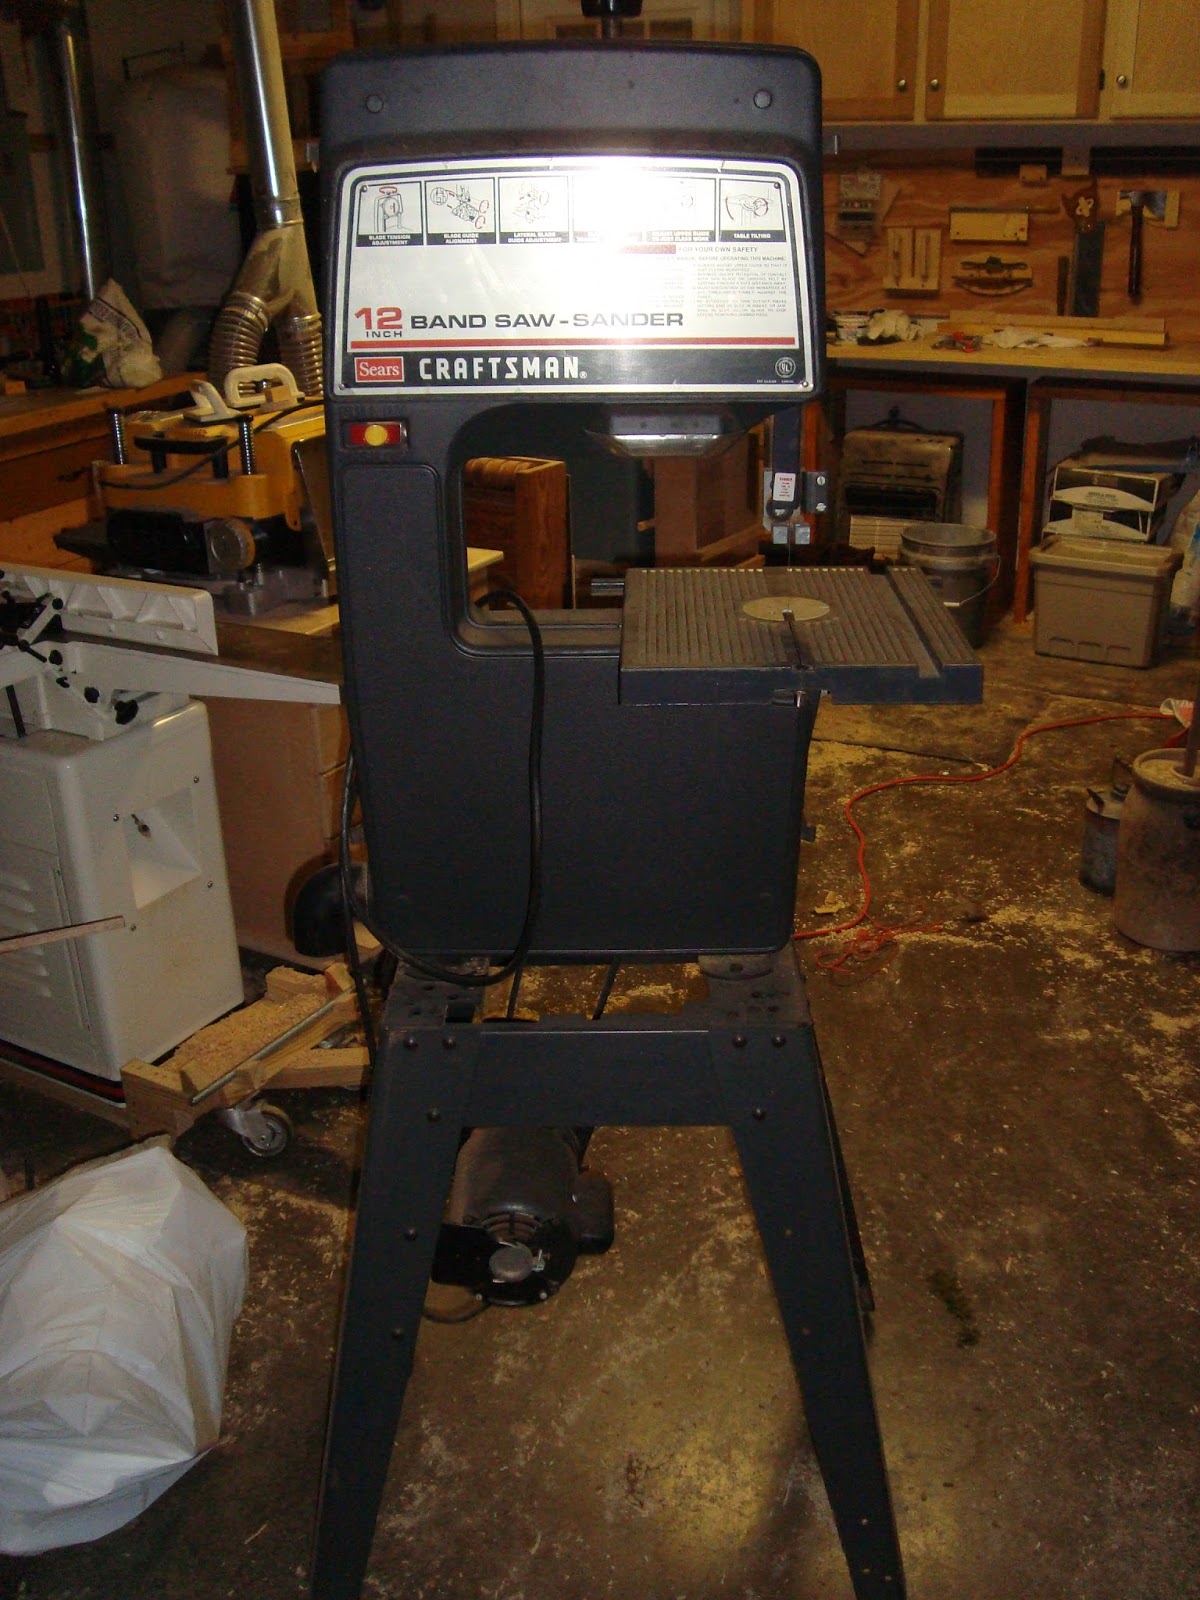
Next i re-installed the bandsaw on the base. As you can see in this picture i bought a linkbelt for this saw, because the old belt was in rough shape. After installing one on my tablesaw a while back i decided i was never going to buy anything else for my woodworking machines. The provider I order my belts from sells the belt in 4 foot sections and 1 foot sections. So I ordered a 4 foot section assuming it would be plenty but it was not, guess i should have measured. 


I painted the covers black and went ahead and installed the back cover.


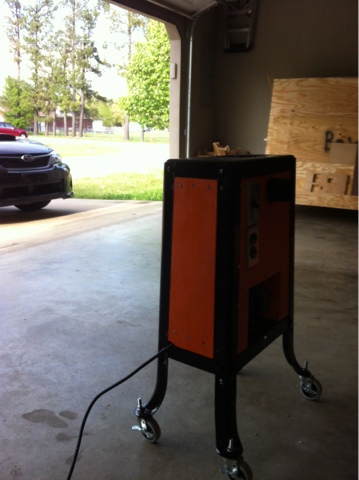
The front cover after paint.


Here is the top after i cleaned it. I also painted the edges of the top black. 


I am now just waiting on the additional belt and blade i ordered.

Look for the conclusion to this project soon!

Thanks for viewing!  


Tuesday, April 23, 2013

Crisis...Averted?


Posted by
Labels: ,
In my last post, I told you all that my table saw was dead and I had to get a new one.  However I had recently seen John Heisz's posts on repairing two old table saws (http://www.ibuildit.ca/Weblog/blog-58.html)and they got me thinking about trying to find replacement parts.  Like most Americans, I'm so used to manufacturers not offering replacement parts for virtually every product we use that I didn't even think of this.

I might have thought of it sooner if this was an older or higher quality saw, but since it's only 10 or 12 years old and wasn't that nice of a saw to begin with, I really didn't expect Delta would offer replacement parts.  However, after doing some poking around today, I found out they do!

I have ordered a replacement for this broken bracket:


and a replacement arbor nut.  I damaged the old arbor nut trying to get it off.  The total for the order including shipping was $44.61, so that's cheap enough that it was worth it to try to fix it for me.  Hopefully I'll get the parts within a couple of weeks.  Since I wasn't thinking I'd be able to fix the saw while disassembling it, I hope I didn't lose any parts or damage anything else along the way.  As long as I didn't, I think I can do the reassembly in a few hours.  More to come!

A big thank you to any and all tool manufacturers that offer replacement parts to their tools for many years after their original manufacture date.

Thursday, April 18, 2013

R.I.P Tablesaw...


Posted by
Labels: ,
My most trusted friend and confidant in the shop died earlier this week.  My little cheapo 10+ year old Delta contractor style tablesaw finally broke down on me.  I bought this saw in June of 2012 for $200 used off Craigslist.  It was in good shape, and it has served me well for a little less than a year.  I have passed many a board-foot of lumber through that saw and constructed nearly everything in my shop excluding my workbenches with it.

I was using it on Monday to crosscut a piece of recycled deck board that was slightly warped.  It caused the saw to bind just a bit, which has happened a hundred times before this. It didn't even bind enough to stall the motor.  But the blade just disappeared midcut.  The motor was still running, but the blade was nowhere to be seen.  I stopped the saw and took off the blade insert and saw the arbor and motor assembly down in the body of the saw as if it were fully lowered.  I tried adjusting the height crank to no avail.  After taking the table off the body to investigate, I found a terminal wound.


These pictures show the moving assembly of the saw.  I only found out as part of this post mortem that this model only has a single trunion.  This is somewhat of a design flaw in my opinion, as it puts all the strain on the one attachment point.  The next two shots show what went wrong.


The piece that broke is a bracket that connects the rod for raising and lowering the blade to the arbor assembly.  This is a cast piece, made out of pretty thin material.  Honestly I'm surprised it lasted this long!  This is just classic cheaping out on the part of the manufacturer.  Here are a couple more shots of the carnage.


Now I'm all for repairing things.  I fully expected to try to repair this until I figured out just what had gone wrong.  These little pieces would have to be welded back together in order to be repaired.  I don't have any welding equipment, but I'm sure I could find someone to weld it.  But the broken area straddles the pivot point where the arbor assembly pivots on a rod to raise and lower the blade.  Any attempt to weld in that area would quite likely lead to messing up the very tight tolerance on this pivot point.  Not to mention that it seems like any repair here would be a weak point likely to break again.  So I'm sorry to say that I'll be taking the typical American route here: buy another one.  So if you know anyone in central Arkansas that wants to sell a tablesaw nicer than this one, drop me a line.  I still haven't decided if I'll buy another used one or go for a new one, but it'll have to be an overall higher quality saw than this one.


Wednesday, April 17, 2013

Salvage Finds


Posted by
Labels:
I had a great opportunity this past weekend to do some salvaging.  My grandmother still lives on a farm where a couple of previous generations of the family have lived.  There are several old outbuildings, and lots of neat stuff to find if you like old things.  We went to visit her and search through one of the older buildings, and we found lots of great stuff!

I brought back several oak 2x4s about 6 feet long.


 A small rusty anvil.


 3 ball peen hammers.


An old bench screw


A bunch of different metal files.


And an old 2 man crosscut saw.


I intend to clean up and use all this stuff, with the exception of the crosscut saw which will just be a decoration.  I'm super excited about the anvil.  Look for an article on cleaning it up and getting it ready for use in the near future!

Tuesday, April 16, 2013

Old Bandsaw!


Posted by
Labels: ,
Jared got a different bandsaw this weekend so i gladly took his old one when he offered! Its a 10 inch Rockwell that has been in our family for years. Not the best bandsaw ever but i'm sure happy with it, especially since it was free.


I decided to completely disassemble the bandsaw to clean, paint, enclose the bottom, add a shop vac dust collection hookup, and replace any worn parts. 


After i disassembled the bandsaw , I started by enclosing the base with plywood and adding a outlet with a switch to turn the saw and my shop vac on and off. The saw originally had a toggle switch on the motor attached to a rod that turned it on and off. I didn't really like this setup and since the motor needed a new power cord anyways i decided to reconfigure the switch setup.

I also added a shop vac hookup.


Look for more to come very soon!


New Bandsaw!


Posted by
Labels: ,
I picked up a new (to me) bandsaw this past weekend.  It's a Craftsman 12 inch model with a 1/2 horse power motor.  It previously belonged to my grandfather and has been in storage for probably 20 years.  Luckily for me, it was stored indoors in a good environment, and it seems to be no worse for the wear.


This bandsaw is an improvement over my previous one in a few ways.  Firstly, the design of the blade guides is better.  There is more adjustment range for the thrust bearing and for how far forward the guide blocks project.


Also the wheels are 2 inches larger, which is supposed to be easier on blades.


I've set it up and just run a couple of pieces of wood through it, and found that it works great so far.  I'm sure some tuning up will be in order, but it already works well enough for my purposes!

Thursday, April 11, 2013

Tripod Head


Posted by
Labels: ,
As I was trying to shoot the little 20 second video demonstrating how my mobile jointer base works, I ran into a situation where I really needed a tripod for my camera.  I had previously seen this one on woodgears.ca, and I'd like to end up with something like that eventually.  But for now, I decided just to build the head of that tripod design, and mount it on a smaller temporary base.

To start, I made the bent rod from Matthias's design.  In his description, he said he made it out of 3/16 inch rod, but it looked more like 3/8 inch in his pictures to me.  In any case, I did make mine out of some 3/16 rod.  I cut it out of a shelf bracket that was made to be hung from pegboard.  It already had the 90 degree bend in it, so all I had to do was cut it out and use it.

I made a small cube block that rotates on that rod and also serves to mount the camera mounting block.  This is just a cube of red oak with a hole bored through it for the rod to go through, and then a slot cut in to allow the block to flex when a bolt is tightened which locks it to the rod.


This same bolt also mounts a couple of metal brackets which attach the camera mounting block.  I made these brackets out of a bent metal bracket I had on hand.  I heated it and beat it flat, then cut it to rough shape and ground it to final shape with the belt sander.


The camera mounting block is a piece of scrap poplar I had on hand.  It has holes bored in to allow mounting bolts to attach the metal brackets I made, and another hole to allow a camera mounting screw to pass through.


The mounting screw is cut from a 1/4 inch bold I had on hand, and the end of it is pounded flat.  Then it is glued into a slot cut in a piece of dowel to give better grip.


The finished "mini-tripod" works great, and I can take the head section I made and reuse it in a later full tripod build.