Since I already covered the build details on the first bed in full in my previous article, I'm going to just focus on the things I did differently for the second set.
There were a few differences in terms of length. I made the long and short rails a bit shorter, and the posts just a bit taller. I also thinned the posts down from about 3 1/2 inches square to 2 3/4 inches square. Once that was done, it made all the "2 by" material that the rails are made out of look a bit too beefy, so I thinned them down to 1 1/4 inches thick. I correspondingly adjusted the mortise and tenon widths down by the same 1/4 inch to 3/4 of an inch.
The biggest design change I made on the second set of beds was to replace the draw bolt joinery on the disassemble-able joints between the long rails and the end ladder assemblies with bedlocks I bought from Lee Valley.
All my rails and posts were prepared and the mortise and tenon joints cut in the same manner as the first bed, the main difference being that there are no mortise and tenons connecting the long rails to the end ladder assemblies. Here is how I installed the bedlocks that replaced them:
I started by making layout marks with a marking gauge on the end of a long rail for the mortise to hold the male (hooked) section of the bedlock.

I deepened my marks a bit with a knife, being careful to stay on the line.
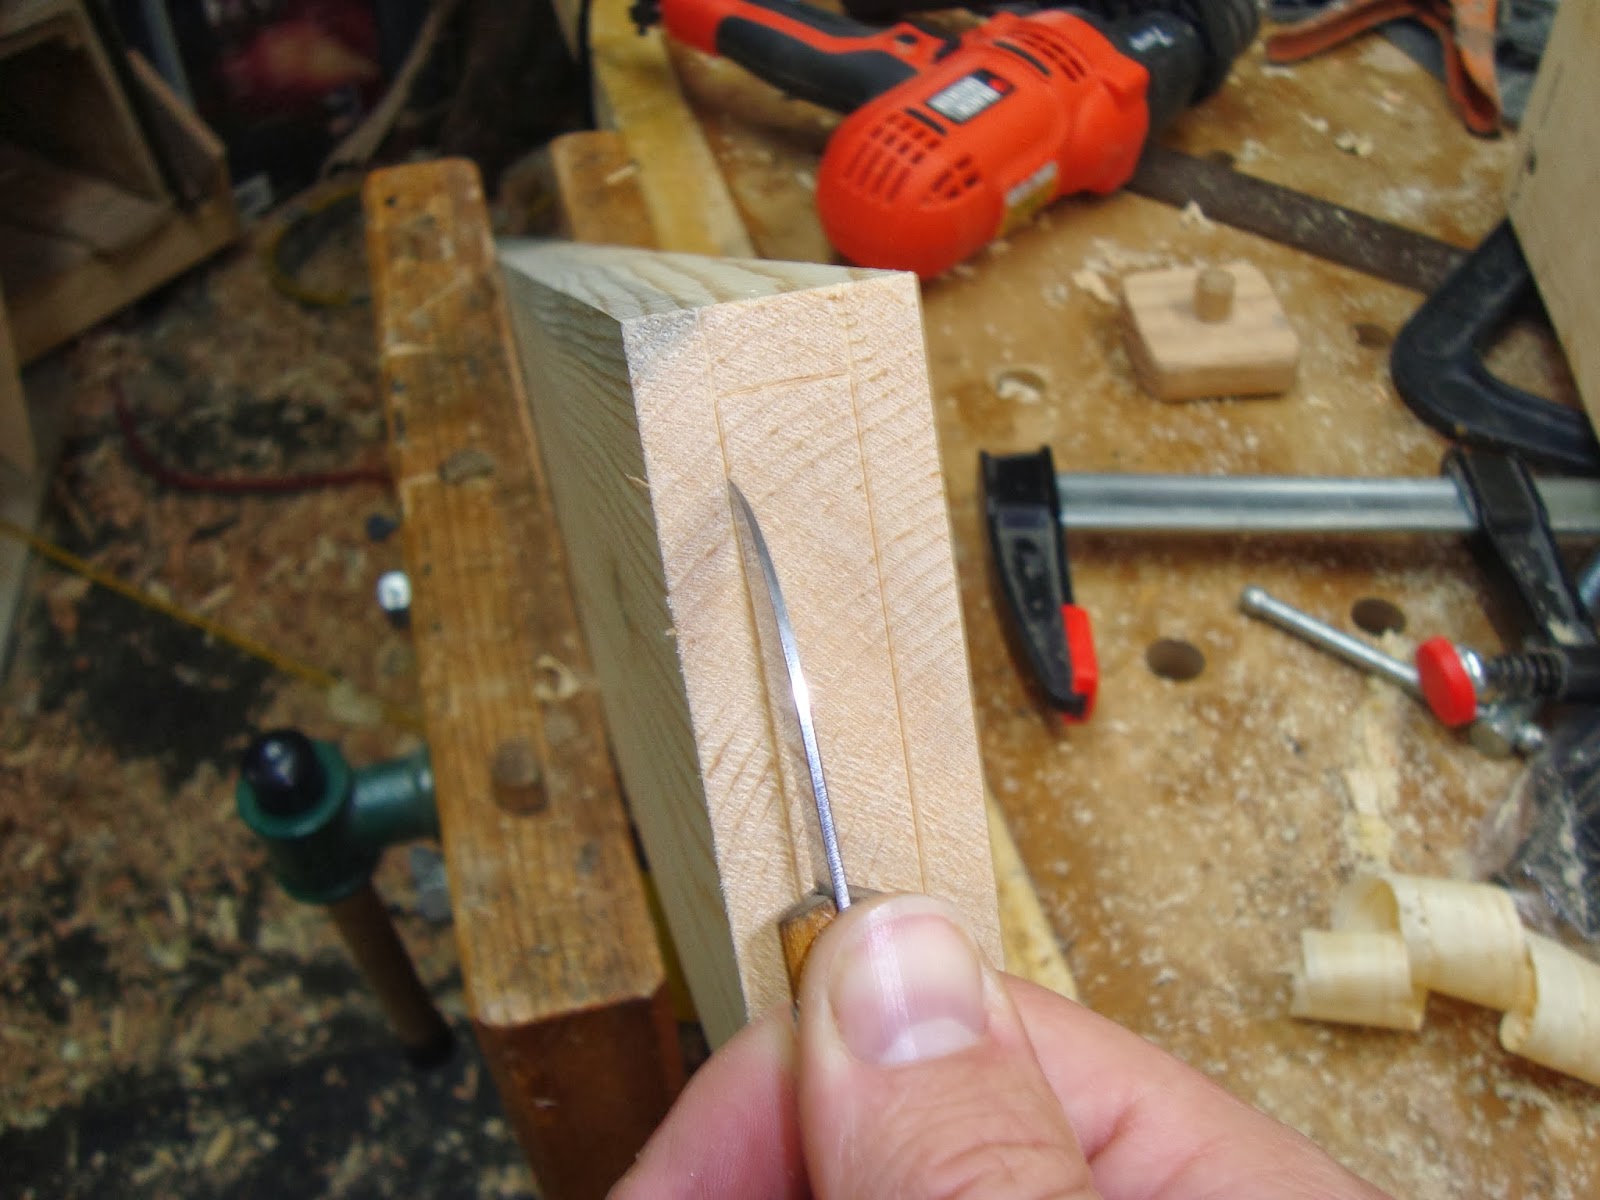

I then clamped some scrap to the sides to provide a wider base for my router base to ride on.

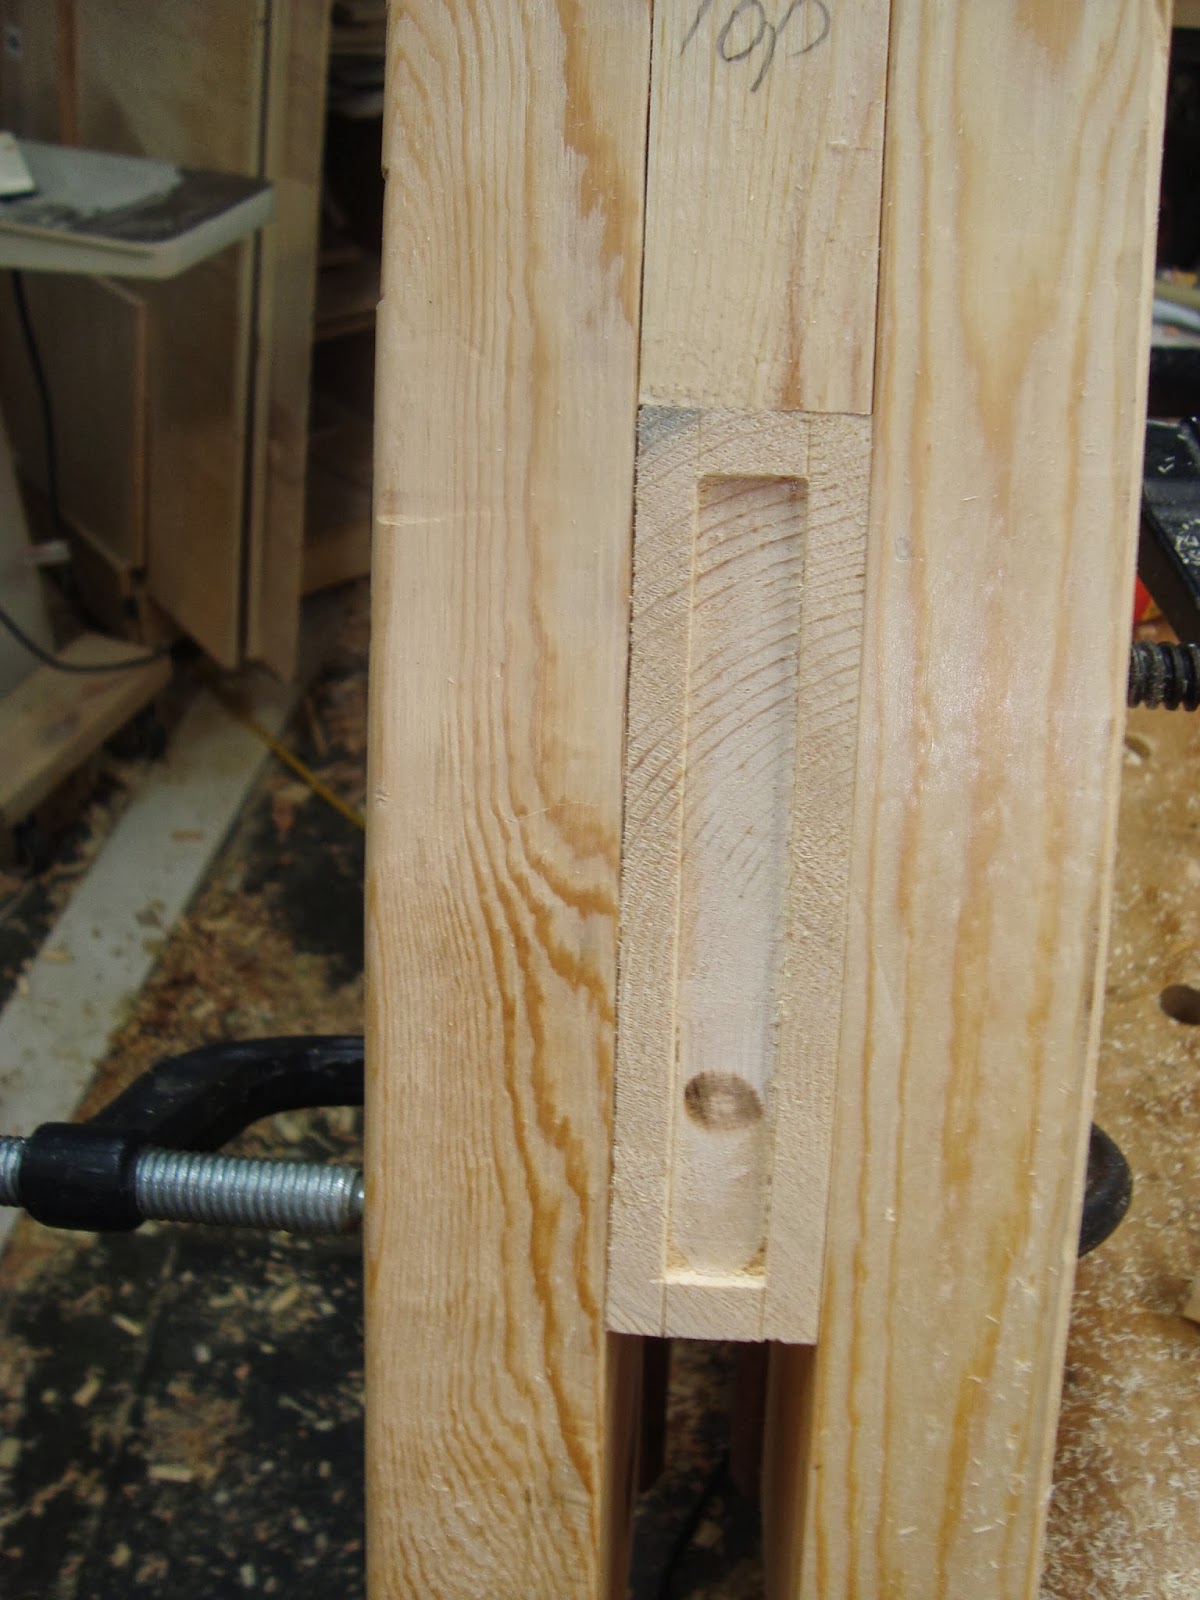
I set the depth of my router bit's cut to the thickness of the bedlock, then carefully freehand routed away the waste.

The deep knife lines I made allowed this to work well. As you approach the knife line slowly and carefully with the router, the guide line encourages the wood to the waste side to sheer off, and the wood on the keep side of the line to stay put.

I squared up the ends with my chisel and mallet, bevel down.

I was very happy with the finished product.
Then the bedlocks are screwed in place with some good quality 2 1/2 inch long wood screws.
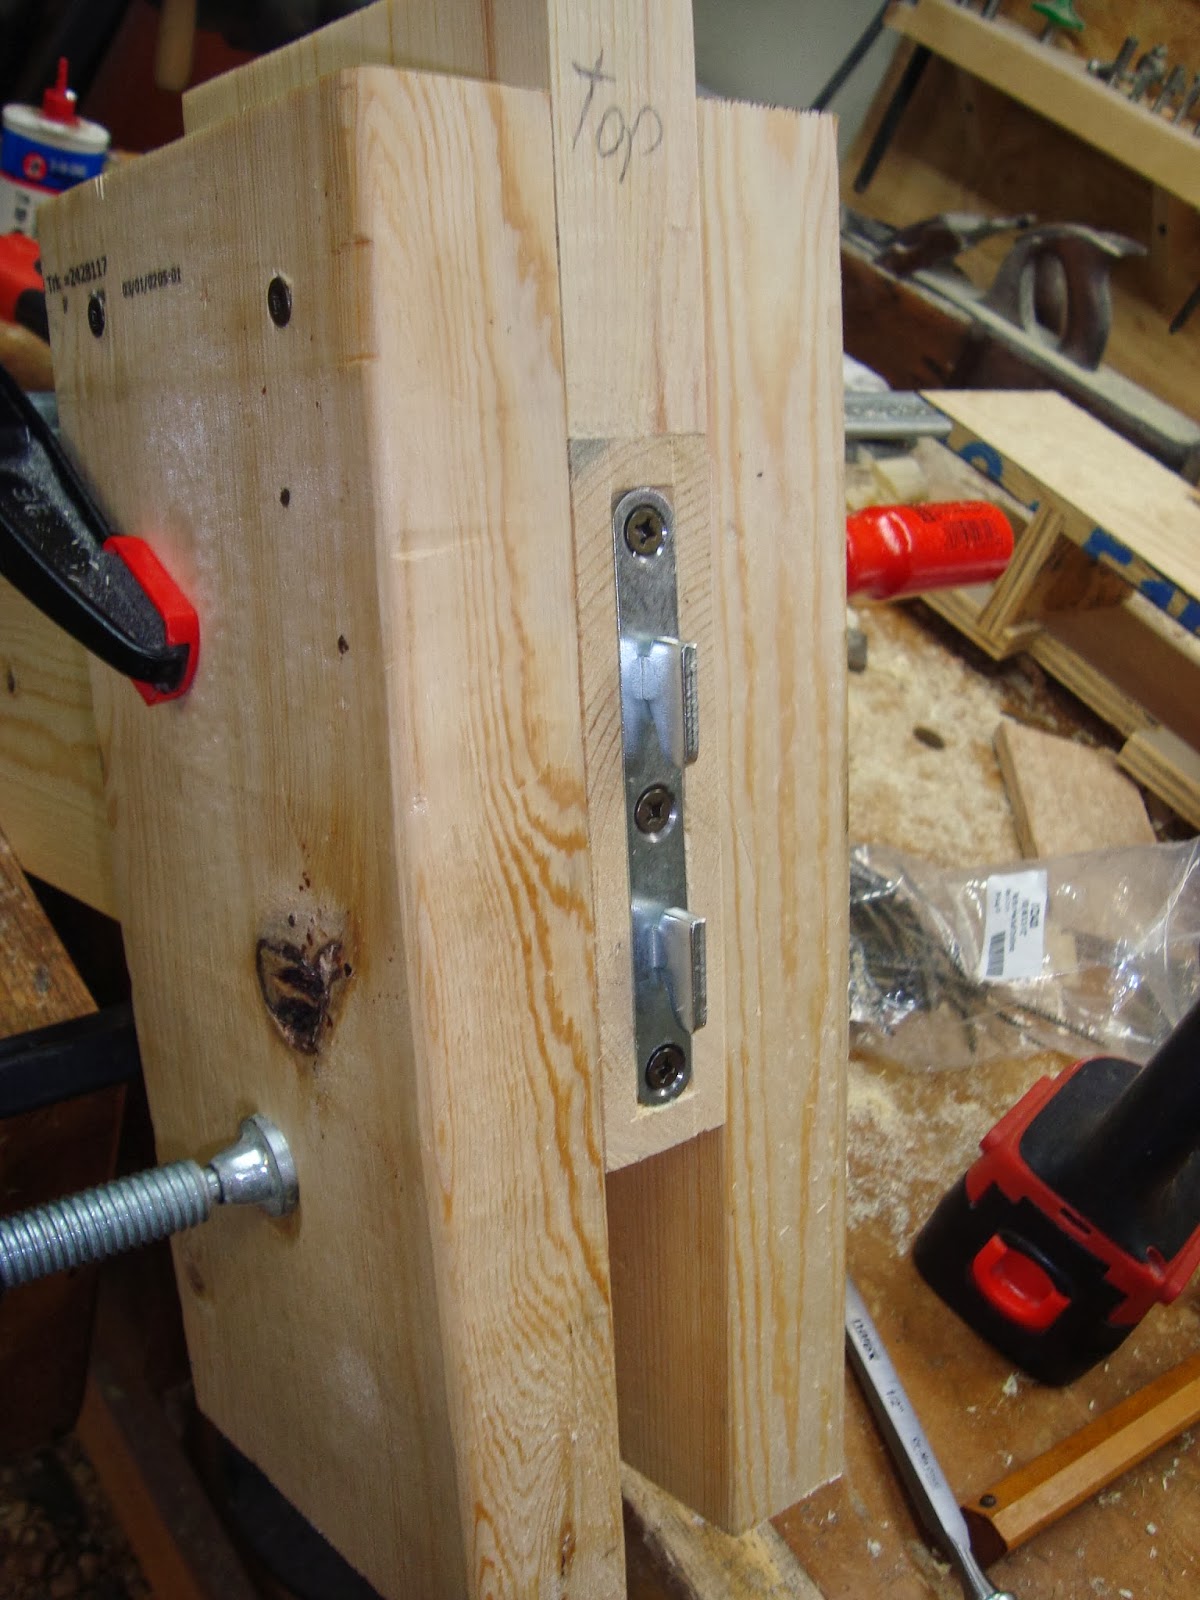
Installing the female piece of the bedlock in the post begins in the same way, with the marking gauge and knife.


I then use my router freehand to remove most of the waste.

I square up the corners this time with my router plane.


The main body of the female section of the bedlock sits in a mortise, but it also requires two additional mortises for the hooks to slip into when the joint is assembled. I mark these by placing the bedlock in its mortise and tracing the locations for the hook mortises.

Since these mortises were small, I decided to chop them out with a chisel and mallet.


They're not super clean, but it hardly matters as long as they function.

The new bed is the one on the right in these pictures


Overall, I am happy with the new design. The slightly smaller dimensions on the pieces made the bed lighter and easier to transport. Also, the bedlocks worked out well. They didn't save me any money, nor time to install them, but when it came time to finally assemble the whole bed they really made it easier. If I had to make another set, I would definitely go with the bedlocks just for the easier assembly. Trying to align all those drawbolted mortise and tenons on final assembly on the older set is really a chore.