The bookcase is all built out of inexpensive spruce using pretty simple joinery. I made a sketchup model beforehand to work out any kinks in the design.

sketchup link
I started out by making the main case. I cut the pieces to length using a crosscut sled.

 |
The top piece is rabbeted to fit over the sides, and the sides have dadoes for the bottom shelf to fit in. In addition, the top and bottom shelves both have a dado for the middle divider to fit in. I cut all these using my router and a guide.

I next drilled all the shelf pin holes using my drill press. I marked the positions out on the workpieces, and used a fence to speed up the process. I know shelf pin jigs are really popular, but to be honest I really don't find it very difficult to do this way.

 | |
I also go ahead and cut the shelves out. Then I spend a lot of quality time sanding the pieces of the main case and the shelves before assembly. I did all of the sanding with my random orbit sander, starting with 100 grit and finishing with 150. The lumber I used was pretty rough, and I found myself wishing I had some 80 grit paper to start with. All total I probably spent a solid hour sanding these pieces.
 | |
| shelves |

With this done, I assemble the case. This is difficult just because of the size of the pieces. The bookshelf is 48" wide and 45" tall, which is too large in both dimensions for any clamps I have. I chain two pipe clamps together to reach. I didn't have any pipe couplers on hand, so I just arrange the clamps to where they're pulling against each other (see pictures below). Since I only have 5 of these 48" pipe clamps, my assembly process goes slowly.


Once the case is assembled, I turn my attention to the face framing. These face frame pieces are joined to the main case using dowels, and to each other just with butt joints. All but one of the face frame pieces are just straight dimensional lumber, but the top horizontal piece has a long arch cut into it. I marked this arc by tracing the existing bookcase, and rough cut the shape on the bandsaw.

Then I put my new oscillating spindle sander to the test sanding this curve smooth. It works well, although it would work better on a long piece like this if it had a larger table.

This was the first big job that I got to use my doweling jig that I got last Christmas on, and it sure was handy. I drill all the dowel holes in the front of the main case, and then use dowel centers to mark the locations of the holes on the face frame pieces. I drill these holes at the drill press.

 | |
| Dowel Centers |
 | |
| Mark left by dowel center on face frame piece |
I start on the face frame with a little extension of the top with a chamfer to create an decorative overhang at the top. Here I use my biscuit jointer to ensure alignment, and glue and clamp it in place. Unfortunately, I put way too much glue. Talk about a pain to clean up later.

 | |
| Overzealous glueing leading to a lot of squeeze-out cleanup to do later |
I glue and clamp the face frame pieces with the dowels in place to attach them. I do this one-by-one, cutting them down to just fit against the previously installed pieces as I go.


 | |
| Using some clamps across the width to pull a slight outward bow out of the case side |
 | |
| Using a clamp across the width to pull that outward bow out of the case side again |
To mark the middle upright case piece for nailing, I put a nail in the center along the top and bottom of the back, and run a string line between them. Then I nail along the line to ensure I hit that middle upright.


With assembly done, I take the time to plane and sand the edges of the face frame flush with the case. I do the same for all the other joints that will be visible on the finished case. This takes quite a while because I'm also cleaning up a lot of glue squeeze out as I go. I just went a little glue happy on this whole project.
Then the true monster of this project rears its ugly head: the finishing. I stain the case with Minwax Red Oak oil based stain. After this I finish the whole case with 3 coats of brushing lacquer. It's so hot and humid right now that I can't put the brushing lacquer on any vertical surfaces or it will run. Each coat was staying visibly wet for an hour or more. This multiplies the amount of time the finishing job takes by quite a bit. I have to position the case, apply finish to only horizontal surfaces, wait a minimum of 2 hours, sand that first coat, apply another coat, wait 2 hours, then apply a final coat and wait at least 2 more hours before I can move the case. What this means in practice is that it took me about a week to complete the construction, and about 2 weeks to complete the finishing. Geez!
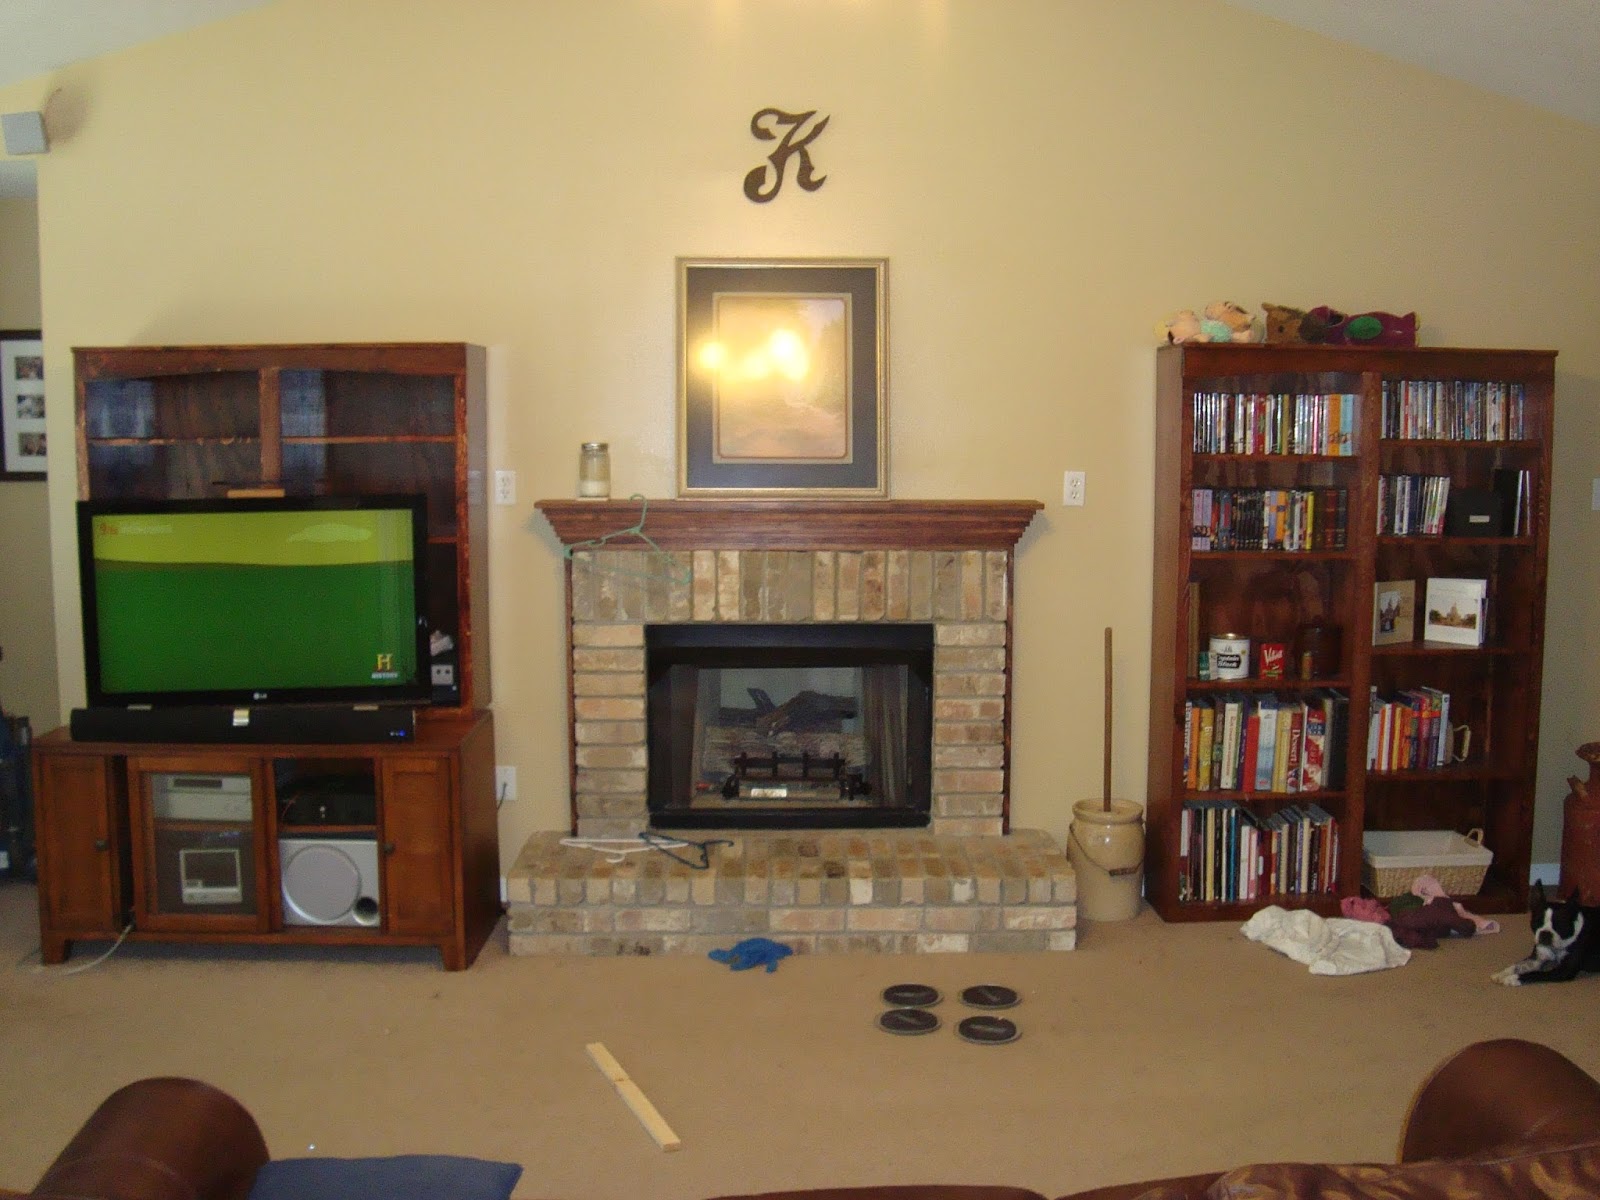
Once the finishing is complete, the lacquer needs about another week to cure. Then I can FINALLY get this thing set up in the living room.


As you can see in the above picture, the back of the case hangs off the TV cabinet a bit. This was an intentional part of the design, and I knew I would need to secure the cabinet to the wall as well. I'm not attaching it to the wall to carry any of the weight of the cabinet - just to stabilize it and prevent it tipping.
 | |
| Stabilizing screw at the top center of the cabinet |
 | |
| And the bottom-center |

One interesting thing about building this bookcase was getting to compare this build to the build 2 years ago of the original bookcase. It allowed me to reflect on areas where my skills and equipment have improved, and areas where they have not. Overall I think the joinery looks better on this new case, but honestly the finish on the other one might look better. I did the finishing of that last case during January, and the finishing of this case in July. There's a big difference in temperature and humidity between the two, and I'm sure that had something to do with the difference in results. I did use the same stain and lacquer as last time, so the finishes would match as close as possible. I also used the same type and quality of wood.
As for the joinery, on the old case I used a homemade doweling jig for the holes in the case, which didn't get my holes exactly straight. I also used some homemade dowel centers, which in truth didn't work very well at all. The doweled face frame joints are much tighter this time. I also have a lot more clamps now than I did then, and this allowed me to clamp these joints more thoroughly. One joint that looks a lot better on the new case than the old is the joint between the top of the case and the little trim overhang piece. I used dowels to join this on the old case, but I used biscuits on the new one. Again, since my dowel holes weren't perfect on the old case, and because I really didn't have enough clamps, this joint on the old case has a definite gap. On the new case with the biscuits, better clamping, and edge jointing I have a virtually invisible joint here. Almost all of the joints on the old case suffered from me not edge jointing the two pieces. I don't even know if I had a hand plane when I built the old case, much less a jointer or any knowledge of how to use either to make a tight joint. I've included a table showing all these differences I've described below:
| Description | Old Case | New Case |
|---|---|---|
| Face Frame Joint From Side |  |
 |
| Face Frame Butt Joint From Front |  |
 |
| Top Trim Overhang Extension Joint Viewed From Top Down |  |
 |
| End of Top Curved Face Frame Piece Joint From Side |  |
 |
I'd really encourage you to go out and build a clone (or at least similar design) of a project you did some years ago. It's enlightening to see how your techniques and equipment have changed, and it gives you ideas about how to do things better in the future!
Frequent readers: my brother hasn't had a post for a while because he's been moving! He's in the process of setting up his new shop now. Look for an article in the next few weeks from him on the new shop!